What Is Image to Image AI and How Does It Work?
Image to image AI turns an existing photo into a new one using a text prompt. Here is what happens inside the model and how to get a clean result.
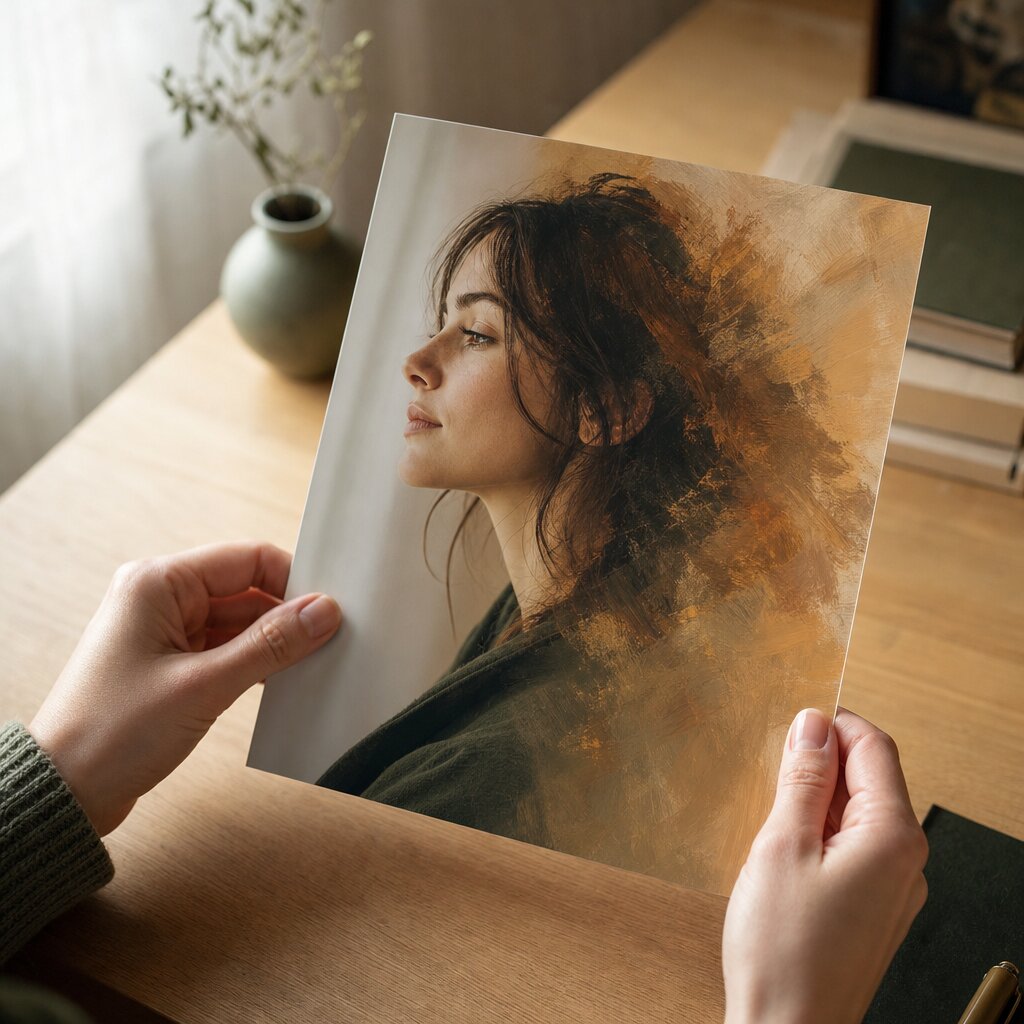
Image to image AI is a generation mode that starts from a photo you already have instead of an empty canvas. You upload the picture, write a sentence describing the change you want, and the model re-renders the entire frame so it matches that description while keeping the pose, viewpoint, and layout of the original. It is the difference between asking an artist to repaint your picture in a new style and asking a machine to do it in about a minute.
How Image to Image AI Actually Works
The name describes the flow exactly: one image in, one image out, with your prompt acting as the instruction for the transformation. Under the hood, five stages do the work:
- Your photo is encoded. The image is resized to the model's working resolution and squashed into a latent representation — a compressed map of structure, edges, and colour that a human eye cannot read but a diffusion model can.
- Your prompt is embedded. The text is broken into tokens, turned into vectors, and injected into the denoising network through cross-attention at every resolution stage. This is the mechanism that lets words steer pixels.
- The starting point is set. Unlike text to image, the process does not begin from pure noise. It begins from a noisy version of your own photo, at a noise level controlled by the strength setting.
- The scene is denoised. The model repeatedly predicts and removes noise. On each pass the text attention pulls the picture toward your description while the image conditioning pulls it back toward your original.
- The result is decoded. A decoder turns the latent back into pixels. Higher quality tiers run this at a larger resolution and sometimes add an upscaling pass.
Step 3 is the whole idea. Because the process starts from your photo instead of from noise, the structure survives — a person stays in the same pose, a building keeps its shape, the horizon line does not move. How much of that structure survives is exactly what the strength setting controls.
Try it on your own file with Try it freeAI Image EditorTransform a single photo with a text prompt — restyle, re-light, re-imagine..
What the strength setting really does
| Strength | What stays | What changes | Good for |
|---|---|---|---|
| Low (0.2–0.35) | Almost everything — pose, face, framing, lighting | Colour, surface texture, mild stylisation | Colour grading, subtle looks |
| Medium (0.4–0.6) | Composition and identity | Style, mood, season, background | The workhorse range for most edits |
| High (0.7–0.85) | Broad layout and subject position | Almost the whole look | Restyling, reimagining, season changes |
| Maximum (0.9+) | Little more than the general subject | A brand-new image that happens to share a silhouette | Starting over from a rough idea |
If your first result drifted too far from the photo, drop the strength rather than rewriting the prompt. That single change fixes more bad results than any prompt edit.
What your source photo controls
| Input choice | Effect on the result |
|---|---|
| Resolution of your photo | Below ~1024px on the long edge, faces and fine edges start to smear |
| Lighting in your photo | Sets the shadow direction and highlight placement the model inherits |
| How clean the background is | A busy background gets re-rendered and can turn muddy |
| Subject size in frame | Small subjects lose detail first — crop tighter before uploading |
| Compression artefacts | Visible JPEG blocks get amplified, not smoothed away |
How to Use Image to Image AI: Step by Step
- Pick the photo you want to transform. Choose one where the subject is large, sharp, and easy to read. A clean portrait beats a wide group shot every time.
- Write one instruction, not a paragraph. Name the single change you want — "1990s film grain, warm faded tones" or "replace the background with a sunlit studio" — and put the thing you want to keep in the same sentence: "keep the face and the pose".
- Set the strength. Start in the medium range. Lower it if the output drifts; raise it if nothing happens.
- Choose quality and aspect ratio. Pick the ratio where the image will be used, and the lowest quality tier that still holds the detail you care about.
- Generate, then refine in small steps. If the result is close but not right, change one thing — the prompt, the strength, or the tier — rather than all three at once.
What Types of Edits Can Image to Image AI Make?
Style transfer. The same photo re-rendered as a 1990s film photo, an oil painting, a comic panel, a clay render, or a product shot. The pose and framing survive; the surface changes completely.
Season and time changes. A summer street in December, a midday shot at dusk, a clear day turned overcast. Lighting is one of the easiest things for the model to re-render convincingly.
Background replacement. Swap a plain studio backdrop for a beach, a library, a neon-lit street, or a clean product background. The subject keeps its edges and picks up new light.
Object and colour edits. Replace a jacket colour, remove a lamppost from a street, add an object to a table, turn a red car blue. Straightforward edits with a small, well-phrased instruction.
Mood and grade. Push a photo warm and nostalgic, cool and clinical, high-contrast and editorial. The cheapest and fastest edit in the whole category.
Restyling a whole scene. Same street, same pose, different decade, different art direction. This is where high strength earns its keep.
Prep work for other tools. Normalising lighting before a multi-photo merge, cleaning up a portrait before a background swap, or matching tone before a batch of product shots.
How to Get More Realistic Results
Say what to keep, not only what to change. "Turn this into a 1990s film photo, keep the face" lands far more often than "1990s film photo". Models follow positive instructions much better than negative ones.
Describe the finished photograph, not the editing operation. Write the caption a photographer would write: subject, setting, light, framing, mood. "Backlit portrait in a wheat field at golden hour" beats "add background".
Match your strength to your intent. Style changes work at medium strength. Reworking the whole scene needs high strength. Very low strength plus a dramatic prompt produces a muddy, half-applied look.
Start from a sharp source. Upscale a small photo first with Try it freeAI Image UpscalerUpscale photos up to 4× without losing detail. if you have no better original. The model can only preserve detail that is present.
Run variations and pick. Generate two to four results and choose. On a good edit, roughly one in four comes out usable on the first pass — the same rate you get from any generative model.
Upscale the winner before publishing. A 1K result is fine for a screen, thin for a print. Generate at the highest tier your budget allows, then upscale once at the end.
Common Problems and Solutions
| Symptom | Why it happens | What to do |
|---|---|---|
| The face drifted or looks unfamiliar | The model re-rendered the face instead of holding the identity, and the details softened | Lower the strength, raise the quality tier, and add "preserve facial features exactly" |
| Nothing seems to have changed | The strength was too low for the instruction | Raise the strength by 0.15 and regenerate |
| The result is a completely different picture | The strength was set very high and the prompt was descriptive rather than editable | Drop the strength to the medium range and add "keep the original composition" |
| The background turned muddy or blurry | The original background was busy and got re-rendered along with the subject | Crop tighter around the subject, or use Try it freeAI Background RemoverRemove any background from a photo in one click — free. and edit the cut-out |
| Colours came out oversaturated | The prompt implied a vivid look and the model pushed it further | Name the palette explicitly — "muted, desaturated, faded film tones" |
| Small text or logos are garbled | Image models cannot reliably reproduce letterforms | Keep text out of the edited area, or re-add it in a design tool afterwards |
| Hair and shoulders have a bright halo | The cut-out boundary met a busy background | Use a tighter crop so the edge falls in a clean area |
| The whole image looks soft or blurry | The source was small or heavily compressed | Upscale the source first and generate at a higher tier |
Frequently Asked Questions
What is image to image AI?
Image to image AI is a generation mode that takes an existing picture as its starting point and produces a new picture from it using a text prompt. The model reads the structure, edges, and colours of your photo, then re-renders the whole frame so that it matches your description — a different style, a new background, a different season, a different mood — while keeping the pose, viewpoint, and layout of the original.
What do you need to use image to image AI?
You need one source photo and a text prompt. The photo sets the structure of the result and the prompt decides what changes. No layer stack, no mask, no brush tool, and no manual retouching — the whole transformation happens in one generation, usually in under a minute.
Is image to image AI the same as text to image AI?
No. Text to image AI starts from an empty canvas and invents every pixel from the prompt alone, which means you get variety but no control over pose or framing. Image to image AI starts from your photo, so the composition is already decided and the prompt only decides the treatment. Use text to image for brand-new scenes and image to image for edits to a photo you already have.
Can image to image AI keep my face the same?
Yes, usually. The model keeps facial identity through a reference embedding rather than by copying pixels, so the face stays recognisable while the lighting, colour, and styling change. Small details such as freckle patterns, faint scars, and hair texture can shift slightly between generations, and a very low resolution source makes that worse.
How long does image to image AI take?
On Dream Pixel AI a single-image generation typically finishes in 30 to 90 seconds depending on the quality tier you pick. Higher tiers take longer because they render at a larger working resolution and often run a second refinement pass.
Do I need to know how to edit photos?
No. That is the main point of the tool. You describe the result you want in ordinary language and the model handles the technical work. Experienced editors still use it daily for the first pass, because describing an edit in a sentence is often faster than building it by hand.
Which Image to Image AI Should You Use?
- Best for one-photo transformations in a browser: Image To Image AI by Dream Pixel AI — upload one photo, write one prompt, get an HD result with no layers and no manual masking.
- Best for combining two or more photos into one scene: Dream Pixel AI Image Combiner — 2 to 8 inputs, up to 4 variations per run.
- Best for a clean cut-out you can reuse anywhere: Try it freeAI Background RemoverRemove any background from a photo in one click — free. — pixel-level extraction with no re-generation.
- Best for maximum control and no usage limits: a self-hosted diffusion pipeline on your own GPU.
Start with Try it freeAI Image EditorTransform a single photo with a text prompt — restyle, re-light, re-imagine. — one photo, one sentence, and you will know within a minute whether the model understood you.
Want a workflow question answered? Get in touch — we read every message.
Try these tools
Try it freeAI Image EditorTransform a single photo with a text prompt — restyle, re-light, re-imagine.Try it freeAI Image CombinerCombine up to 8 photos into a single AI-composed image.Try it freeAI Background ChangerSwap photo backgrounds — solid colors, scenes, or AI-generated.Try it freeAI Image UpscalerUpscale photos up to 4× without losing detail.Sources
- Stability AI — Research — Reference for latent-space diffusion encoding and decoding that underlies image-to-image generation.
- Google Research — Imagen Editor — Reference for text-guided editing that preserves the structure of a supplied photograph.
- Hugging Face — Diffusers documentation — Reference for the strength parameter and how the starting image conditions the denoising process.