How to Change Clothes in a Photo With AI (Step by Step)
Change the outfit in any photo with AI in five steps: pick a clean person shot, add the garment, order the layers, generate and download.
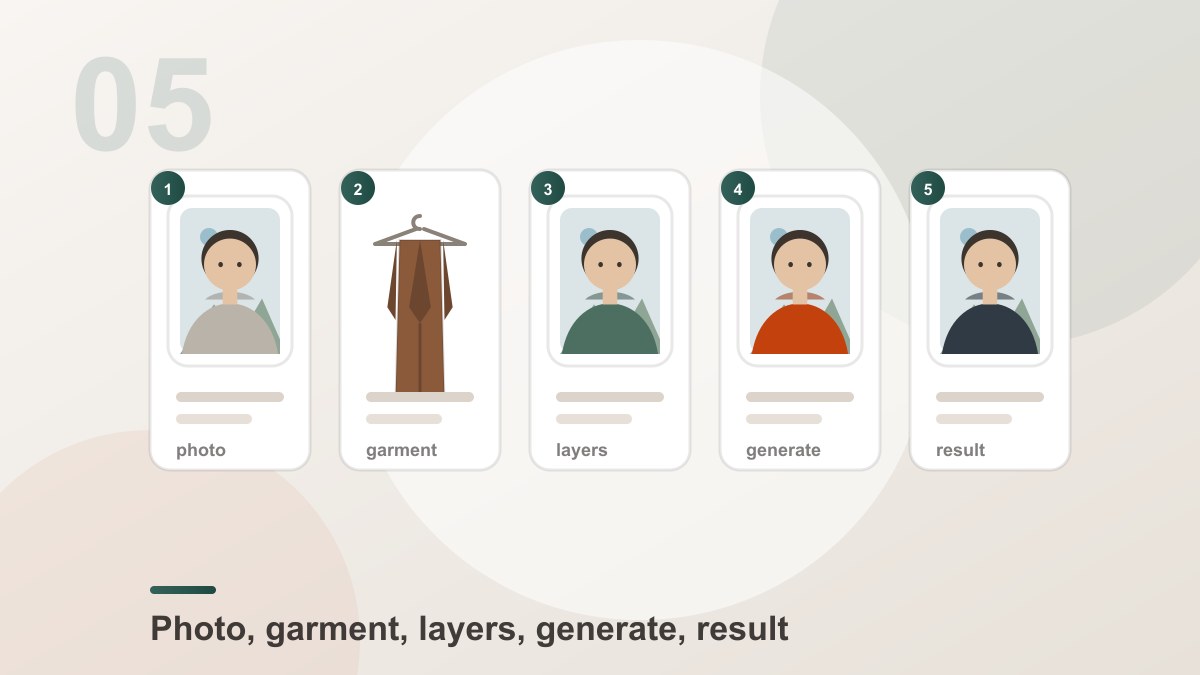
Changing clothes in a photo with AI takes about five steps and under a minute. You upload a photo of the person, add the outfit you want, press one button, and download the finished picture — the face, the pose and the background stay exactly as they were in the original.
This guide walks through the whole thing with Try it freeAI Clothes SwapSwap any outfit onto a photo — a free online AI clothes changer and virtual try-on., including the two photo choices that decide whether the result looks worn or pasted on.
What You Need Before You Start
Two photos, and they play very different roles.
A person photo. This is the scene that stays. It should be sharp, well lit, and show the body clearly — waist up or full length, with the arms and shoulders visible. Hands in pockets, arms crossed and hair falling over the shoulders all hide the places where a garment has to attach, so they cost you accuracy.
A garment photo. This is the clothing that gets copied. A flat lay, a hanger shot or a mannequin gives the model the colour, the pattern and the cut without giving it a second person to copy. A photo of the garment on a model works too, but it is the most common source of a stray body in the result.
You do not need to write a prompt. The two photos are the instruction.
How to Change Clothes in a Photo with AI: Step by Step
Step 1 — Upload the person photo
Drop your picture into the Person slot. The tool compresses large files in your browser before sending them, so a big photo from a phone is fine — it is scaled down to a sensible working size rather than rejected.
What works best:
- Sharp, not a screenshot of a screenshot
- Waist up or full body, with the arms clear of the torso
- One direction of light, with some shadow to give the model depth
- Nothing in front of the shoulders — a scarf, a bag strap or a long necklace all complicate the collar area
- The original file, at 1024px or more on the long edge
Step 2 — Add the garment
Either pick one from the preset library — Workwear, Activewear, Evening and Glam — or upload your own picture of the item.
The presets are photographs of the garment alone, so they are the safest starting point if you have never done this before. Your own garment photo is better when you need a specific product: upload the exact jacket from your store, flat or on a hanger, with good even light.
Step 3 — Order the layers, if you are wearing more than one
Garments are applied in the order you add them, from the skin outwards. The first garment is the base layer; the last one sits on top.
- Shirt first, jacket second → shirt under jacket. Correct.
- Jacket first, shirt second → shirt over jacket. Also fine, if that is what you meant.
- Dress first, blazer second → blazer over the dress.
If you get the order wrong, remove the garment and add it again in the right place rather than trying to describe the layering in words.
Step 4 — Write a description, if you need one
The description box is for details the pictures cannot show. "A heavier wool, charcoal, buttoned up" or "add a cream silk scarf" are good uses. "Make the person smile" or "change the background" are not — that part of the instruction is fixed and your words cannot override it.
If you are uploading your own garment photo, the picture already carries the colour and the cut. A description helps most when it adds something new, and hurts when it contradicts what the picture shows.
Step 5 — Choose the settings, generate and download
Pick a quality tier and the number of variations. The chips next to the button show the exact credit cost of the current selection before you spend anything.
Ask for two to four variations. On a good pair of photos, one result in three is clean enough to use. Variations turn a coin flip into a choice — and since each one costs the same as the first, four variations cost four times one variation and still come out ahead of doing four separate jobs.
When the results come back, check them in this order:
- Does the skin at the collar and the neck still match the rest of the photo?
- Do the shadows on the new clothes fall in the same direction as the light in the original?
- Does the garment follow the pose, or does it ignore the arms and the shoulders?
- Is there a hard edge where the new fabric meets the old one?
If a result fails on any of these, regenerate rather than fixing it in a second tool.
Common Problems and Their Fixes
| Problem | Cause | Fix |
|---|---|---|
| The clothes look pasted on | Light directions differ between the two photos | Match the lighting before uploading |
| A hand or a collar is wrong | The garment covers a part of the body the model could not see | Clear the hands and the collar in the person photo |
| The colour is off | The garment photo was warm, the person photo is cool | Neutralise the garment photo first |
| A second person appears | The garment photo contains a model | Use a flat lay, a hanger or a mannequin |
| The outfit reads as two pieces | The garments were added in the wrong order | Remove and re-add them in order |
| The sleeves are wrong | The garment photo was cropped mid-sleeve | Upload the whole item |
| The face moved | The person photo was low-resolution or heavily compressed | Use a sharper source and retry |
Where People Actually Use It
Lookbooks. One sitting, several outfits — the cheapest way to fill a seasonal page.
Marketplace listings. Put the exact product from your store onto a model photo.
Costume and styling. Rehearsal references and cosplay tests before a shoot.
Old photos. Re-dress a picture whose clothes dated badly, keeping the face and the moment.
Frequently Asked Questions
How do I change clothes in a photo?
Upload a photo of the person into the Person slot, then add the garment you want — either pick one from the preset library or upload your own picture of the item. Add a second garment if you want a layered outfit, press Swap Clothes, and download the result. The face, pose and background of the original photo are preserved.
What photo works best for changing clothes?
A sharp photo of the person from the waist up or full body, with the arms and shoulders clearly visible and the light coming from one direction. For the garment, a picture showing the whole item — flat, on a hanger or on a mannequin — works best, because the AI copies the colour, pattern and cut from it.
Can I change clothes in a photo for free?
Yes, within the free credits you start with. Every swap spends credits based on the quality tier — 1K costs less than 2K, and 2K less than 4K — and each extra variation multiplies that cost. Credits are only spent once a generation starts, failed swaps are refunded automatically, and downloads carry no watermark.
Can I put two or three garments on the same person?
Yes, up to four garments on one person photo. They are applied in the order you added them, from the skin outwards, so the first garment is the base layer and the last one sits on top. Add them in the order you want them stacked.
Why does the clothes look pasted onto the photo?
Almost always the two source photos. The usual causes are a mismatch in lighting direction between the person shot and the garment shot, a garment photo cropped so the model has to invent part of the item, or a garment photo that includes a person whose body bleeds into the result. Match the light and use a garment without a model.
Can I describe the outfit I want instead of uploading a garment photo?
Your description applies to the clothing on top of the garment you uploaded — it can change the fabric, the colourway or add a layer. It cannot replace the garment photo, and it cannot change the person, the pose, the background or the framing, because those parts of the instruction are fixed.
How long does an AI clothes swap take?
Most swaps finish in seconds. The time depends on the resolution tier you choose and how many variations you ask for — a 4K result renders more detail, so it takes longer than a 1K one.
Is it safe to upload my photos?
Your photos are used to build the swap and then saved to your private library, where only you can view and download them. They are never published, never shared and never turned into public examples.
Product Recommendation
Try it freeAI Clothes SwapSwap any outfit onto a photo — a free online AI clothes changer and virtual try-on.Add the photo, add the garment, press swap. Every download is high resolution and watermark-free.
Want a workflow question answered? Get in touch — we read every message.
Try these tools
Try it freeAI Clothes SwapSwap any outfit onto a photo — a free online AI clothes changer and virtual try-on.Try it freeAI Image EditorTransform a single photo with a text prompt — restyle, re-light, re-imagine.Try it freeAI Photoshoot GeneratorTurn a single product photo into a full photo set.Try it freeRemove Object from PhotoErase unwanted objects, people, or clutter from any photo.Sources
- Try-on Diffusion — Virtual Try-On with Diffusion Models — Reference for the garment-stage and person-stage split that makes a try-on result read as worn rather than pasted.
- IDEA Research — Virtual Try-off — Reference for clothing-agnostic generation and the limits of describing garments without a body.
- MIT Media Lab — DeepFake detection research — Reference for the visual tells that make a generated garment read as synthetic.
- U.S. Federal Trade Commission — AI-generated content and impersonation guidance — Reference for disclosure expectations when publishing photos with generated clothing.