How to Make AI Clothes Swaps Look Realistic
Seven specific things make an AI clothes swap look fake — wrong light, cropped garments, borrowed bodies. Here is how to fix each one before you publish.
An AI clothes swap looks fake for a small number of repeatable reasons, and almost none of them are the tool's fault. They are in the two photos you uploaded. Fix the inputs and the realism comes with them — a 4K render of a badly matched garment still looks badly matched, only sharper.
Here are the seven things that actually give a swap away, and what to do about each.
The Seven Tells
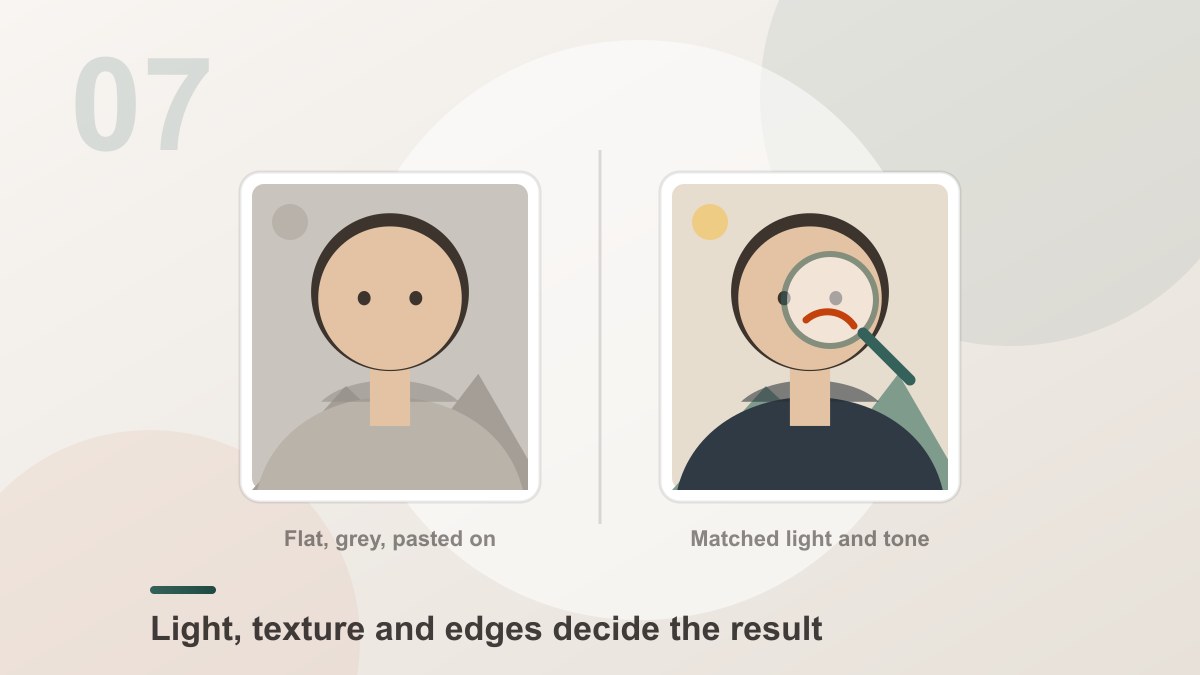
4edges to check before you publish[Dream Pixel AI]1. The light does not match
The tell: the garment is lit differently from the scene it sits in. It is brighter than the face, softer than the background, or its shadow falls the wrong way.
Why it happens: the model copies the garment's own baked-in lighting from the product photo and can only partly correct it.
The fix: pick a garment photo with the same light direction and the same softness as the person photo. Warm indoor light on both, or daylight on both. A garment shot on a white studio background at high key almost never matches an outdoor photo.
2. The garment is cropped
The tell: a sleeve ends halfway, a collar is cut off, the hem is missing.
Why it happens: the model has to invent the part it cannot see, and invented garment parts are the most obvious artefact in the whole picture.
The fix: upload the whole item — flat, on a hanger, or on a mannequin, with all four edges visible.
3. The garment photo contains a person
The tell: a shoulder that is too wide, a torso shape that belongs to somebody else, an arm in the wrong place.
Why it happens: the garment photo contributes a body along with the clothing.
The fix: use a flat lay, a hanger or a mannequin. If you only have a photo of the item being worn, crop it so that no skin is visible.
4. The fabric has the wrong texture
The tell: the new clothes look crisper and more perfect than the rest of the photo. Everyone's clothes in the frame are slightly creased and slightly worn; the swapped garment is not.
Why it happens: a product photo shows new, unworn fabric.
The fix: choose a garment photo that is not a fresh studio shot, or accept that the result reads as a product shot. Crumpling the item before photographing it fixes it more often than anything you can say in the description box.
5. The edges are wrong
The tell: a hard line where the collar meets the neck, a cuff that floats, a hem that cuts across the leg at an angle the body does not support.
Why it happens: the model had to guess where the garment ends against a body part it could not see clearly.
The fix: clear the problem area in the person photo before uploading. Move the arm out from the hip, take the hair off the shoulder, or use a photo where the torso is unobstructed.
6. The colour is off
The tell: the garment is more saturated than everything around it, or slightly wrong in hue.
Why it happens: the colour was read from a source photo with its own white balance, and the model averages it against the scene.
The fix: neutralise the garment photo — set the white balance to the scene before uploading. A garment that is a bit dull in the file is usually truer in the result than one that is a bit too vivid.
7. The layering makes no sense
The tell: a shirt collar poking through a jacket, a scarf under a coat, a belt halfway down a leg.
Why it happens: the garments are rendered in the order you added them, and the model has to guess which one sits on top where they overlap.
The fix: add them in the order you want them stacked, and remove and re-add them rather than trying to describe the layering in words.
The Pre-Publish Check
Open the result at full size and look at four places. It takes about twenty seconds and it catches nearly everything.
- The collar — where the garment meets the neck. Any hard line, any wrong skin tone, any doubled edge shows here first.
- Both cuffs — where fabric ends on the arm. The most common place for a sleeve to be invented or a forearm to disappear.
- The waistline — where the garment meets the body. Watch for a hem that hangs at an angle the hips do not support.
- The hem — the bottom edge of the garment, where it meets legs, a chair or the frame.
Then two global checks: does the shadow direction agree with the light in the rest of the photo, and does the colour of the fabric sit in the same range as the skin and the background around it.
A Quick Rule of Thumb
If a swap looks wrong, ask which of the seven tells it resembles and fix the corresponding photo. The mapping is almost always direct:
| Tell | The photo to change |
|---|---|
| Light does not match | The garment photo — match its direction to the person photo |
| Garment cropped | The garment photo — show the whole item |
| Wrong body shape | The garment photo — remove the person from it |
| Fabric too perfect | The garment photo — use a worn or creased item |
| Hard edges | The person photo — clear the area under the garment |
| Colour off | The garment photo — neutralise the white balance |
| Layering wrong | The upload order — remove and re-add |
Frequently Asked Questions
Why does my AI clothes swap look fake?
Almost always the source photos rather than the tool. The usual causes are a light direction that differs between the person photo and the garment photo, a garment cropped so the model has to invent part of it, a garment photo containing a second person, and a person photo that was low-resolution or compressed. Fix the photos and the result changes more than any setting would.
What is the biggest thing that makes a swap look pasted on?
Mismatched lighting. A garment shot in soft indoor light on a person shot in hard daylight keeps the flat, shadowless quality of the product photo, and the brain reads that as "added later". Matching the light direction and softness of the two photos is the highest-value fix available.
Should I use a flat lay or a model wearing the garment?
A flat lay, a hanger shot or a mannequin. Those give the model the colour, pattern and cut without giving it a second body to copy. A photo of a model can work, but it is the most common source of a stray shoulder or a wrong body shape in the result.
Does a higher resolution make the result more realistic?
It makes the result sharper, which helps small errors hide — but it does not make the fit more correct. A wrong fit at 4K is a wrong fit with more pixels. Fix the inputs first, then raise the resolution.
How many variations should I generate?
Two to four. On a good pair of photos, roughly one result in three is clean enough to publish. Variations turn a coin flip into a choice, and each one costs the same as the first, so four variations still cost less than four separate attempts at different photo pairs.
What if the face changed slightly?
That is an input problem — a blurry, low-resolution or heavily compressed person photo. The swap is supposed to copy the face untouched, so any movement means the source was too thin to read. Retry with the original file rather than a screenshot or a re-saved copy.
Can I fix a bad result in another tool?
Sometimes, but it is rarely the fastest route. A wrong collar or a wrong sleeve is usually fixed by regenerating with a better garment photo, which takes one click and costs one render. Post-processing a broken garment tends to cost more time than regenerating.
How do I check a result before publishing it?
Look at four edges at full size: the collar, both cuffs, the waistline and the hem. Then check the shadow direction against the light in the photo, and the colour of the fabric against the skin and the background. That short pass catches almost every visible problem.
Product Recommendation
Try it freeAI Clothes SwapSwap any outfit onto a photo — a free online AI clothes changer and virtual try-on.Upload the person photo, add the garments, and generate two to four variations. Every download is high resolution and watermark-free.
Want a workflow question answered? Get in touch — we read every message.
Try these tools
Try it freeAI Clothes SwapSwap any outfit onto a photo — a free online AI clothes changer and virtual try-on.Try it freeAI Image EditorTransform a single photo with a text prompt — restyle, re-light, re-imagine.Try it freeAI Professional HeadshotsGenerate studio-quality headshots from a single selfie.Try it freeAI Photoshoot GeneratorTurn a single product photo into a full photo set.Sources
- Try-on Diffusion — Virtual Try-On with Diffusion Models — Reference for how the garment stage and the person stage divide the work, and where each stage can fail.
- MIT Media Lab — DeepFake detection research — Reference for the visual tells that make generated clothing read as synthetic.
- IDEA Research — Virtual Try-off — Reference for clothing-agnostic generation and why garment-only source photos produce cleaner results.
- U.S. Federal Trade Commission — AI-generated content and impersonation guidance — Reference for disclosure expectations when publishing generated fashion imagery.