How Does AI Clothes Swap Work? Inside the Pipeline
An AI clothes swap runs in five stages: body read, garment encode, fit, relight and blend. Here is what each stage does and why it decides the result.
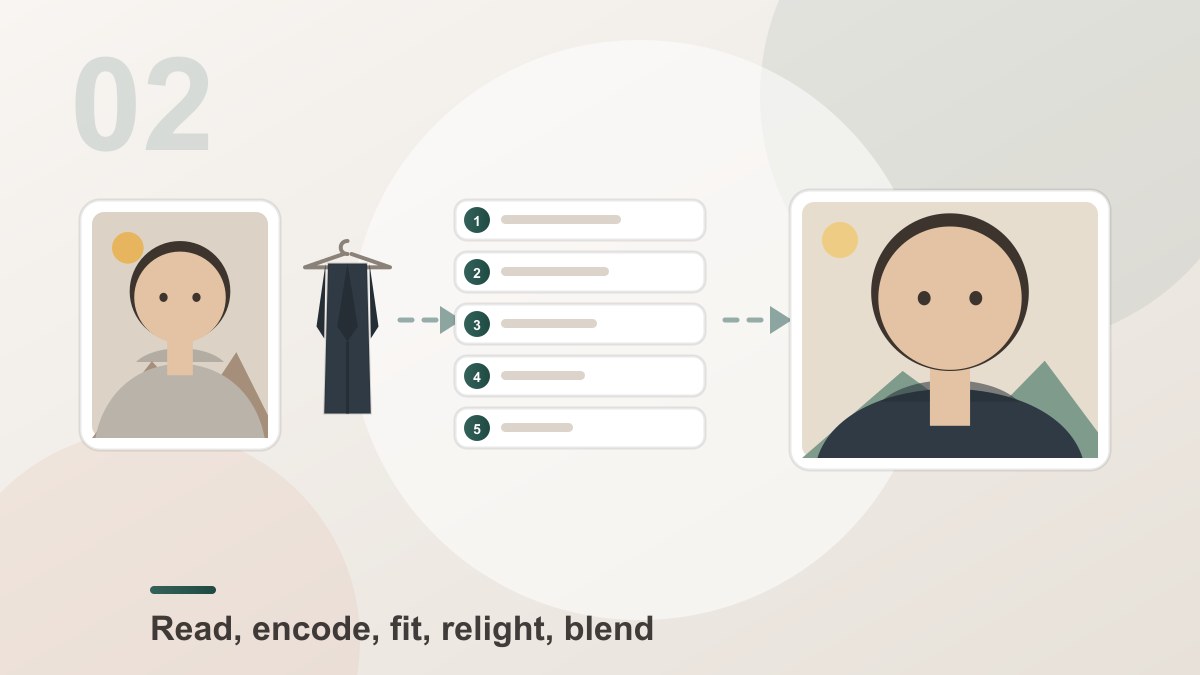
An AI clothes swap is not one model call — it is a small pipeline with five stages, and each stage is a place where the result can go wrong. Knowing which stage produced the artefact you are unhappy with is the fastest way to fix it.
The Five Stages
5stages between your photos and the result[Dream Pixel AI]1. Reading the body
The first pass describes photo one: the body shape, the pose, where the shoulders and arms sit, how the light falls, and what the frame looks like. This is the reference sheet every later stage works from.
If photo one is blurry, low-resolution or cropped at the shoulder, this stage produces a bad reference sheet, and every stage after it inherits the problem.
2. Encoding the garments
Each garment photo is encoded on its own — colour, pattern, cut, material, how the fabric hangs. The garment is described as clothing and never as a person.
That separation is the technical heart of the tool. When the garment and the person are encoded independently, the second photo can contribute fabric without contributing a face, a body or a pose.
3. Fitting the garment to the body
The cut is re-shaped onto the body from stage one. A straight shirt on a hanger has to become a shirt that follows a shoulder, an arm and a waist.
This is the stage that decides whether the swap looks worn or looks pasted. A garment photo that shows only the front of a shirt, for example, leaves the model to invent the back and the sleeves — and invented garment parts are the number one tell.
4. Relighting to the scene
Shadows and highlights on the new clothes are generated from the light in the person photo. A shirt lit from the left in the scene gets a shadow on the right; a jacket worn in shade gets the shade's softness.
This is the stage most people never notice — which is exactly the point. When it works, nobody sees it.
5. Blending back into the frame
The rendered garment is composited into the original picture, and the parts the instruction marks as preserved are copied rather than re-generated: face, hair, skin tone, body shape, pose, hands, expression, background, lighting, camera angle and framing.
Where the Prompt Goes
The description box is often mistaken for a general instruction field. It is not — it is scoped.
The swap is fully described by a fixed instruction that names the person, the face and the background as things to keep and the outfit as the only thing to replace. Your words are appended behind it, tagged as a garment description, and the instruction explicitly tells the model to ignore anything inside that description that refers to the person, the face, the body, the pose, the background, the camera or the output format.
That means the box is genuinely useful for the things a picture cannot express — "a heavier wool, charcoal, buttoned up" — and genuinely useless for anything about the person.
Multi-Garment Ordering
Garments are sent as an ordered list and rendered from the skin outwards. The order you add them is the order they stack.
This is worth internalising before you try four garments at once: a shirt added first and a jacket added second is a shirt under a jacket. A jacket added first and a shirt added second is a shirt over a jacket. The tool does not sort them by weight or by type — it follows the list you built.
What Resolution Changes
The quality tier sets the working resolution of the render. Higher tiers give sharper stitching, visible fabric weave and cleaner edges along a collar or a cuff.
What it does not change is the fit. If the garment cannot be anchored in the source photo, no resolution tier will invent the missing information convincingly — the difference is that a 4K render makes the mistake bigger, not smaller.
Where It Breaks
| Symptom | Stage that caused it | Fix |
|---|---|---|
| Garment looks pasted on | 4 — relighting | Match the light of the two source photos |
| Collar or cuffs look wrong | 3 — fitting | Show the whole garment, including the back |
| Colour reads off | 2 — encoding | Neutralise the garment photo before uploading |
| A second person appears | 2 — encoding | Use a flat lay, a hanger or a mannequin |
| Face or pose moved | 5 — blending | Use a sharper person photo and retry |
| Wrong layering | Ordering | Remove the garments and re-add them in order |
Where People Actually Use It
Lookbooks. One model, one sitting, several outfits — the cheapest way to fill a seasonal page.
Marketplace listings. Put the exact product from your store onto a model photo, without a studio booking.
Costume and styling. Rehearsal photos, cosplay references, styling experiments before a shoot.
Rescuing old pictures. Re-dress a photo where the clothes dated badly, keeping the face and the moment.
Frequently Asked Questions
What does the model actually do when I press swap?
It runs five stages. First it reads the person photo and builds a description of the body, pose and light. Then it encodes each garment photo separately as clothing. Next it fits the garment to the body in the pose of the person photo, relights it so the shadows match the scene, and finally blends it back into the original frame with everything else preserved.
Why does the result keep my face and background?
Because the swap runs as a narrow edit rather than a full regeneration. The instruction that drives the render explicitly keeps the face, hair, skin tone, body shape, pose, hands, expression, background, lighting, camera angle and framing, and replaces only the outfit. Anything the instruction marks as preserved is copied, not re-invented.
How does the tool avoid copying the person in the garment photo?
The garment photo is encoded as clothing — colour, pattern, cut, material and drape — and never as a person. The garment is then re-shaped onto the body from photo one, so the second photo contributes fabric, not a face or a pose.
What does my description actually change?
Only the clothing. Your text is appended behind the fixed swap instruction and scoped to the outfit, so it can describe a heavier fabric, a different colourway or an extra layer. It cannot change the person, the background, the camera or the output format, because the instruction that governs those comes first.
Why do multiple garments get layered in the order I added them?
The garments are sent to the model as an ordered list — photo two first, then three, four and five — and the render follows that order from the skin outwards. The first garment sits closest to the body and the last one sits on top, which is why a jacket added before a shirt comes out underneath it.
Does the resolution change the quality of the fit?
It changes the detail, not the reasoning. A higher tier renders at a larger working resolution, so the stitching, the fabric weave and the edges of the garment come out sharper, and small errors along the collar or the cuffs are harder to see. The fit itself is decided by the two input photos.
What happens to my photos during a swap?
They are used to build the render and then saved to your private library, where only you can view and download them. They are never published, never shared and never turned into public templates. Large files are compressed in your browser before upload so the transfer stays fast.
Why did my credits not come back when a swap failed?
They should — failed swaps are refunded automatically. Credits are only spent once a generation actually starts, and every failure path in the pipeline returns them. If a refund is missing, the generation record in your library will show the failure, and support can trace it.
Product Recommendation
Try it freeAI Clothes SwapSwap any outfit onto a photo — a free online AI clothes changer and virtual try-on.One person photo, up to four garment photos, one render. The download is high resolution and watermark-free.
Want a workflow question answered? Get in touch — we read every message.
Try these tools
Try it freeAI Clothes SwapSwap any outfit onto a photo — a free online AI clothes changer and virtual try-on.Try it freeAI Image EditorTransform a single photo with a text prompt — restyle, re-light, re-imagine.Try it freeAI Face SwapSwap faces between two photos with realistic results.Try it freeAI Photoshoot GeneratorTurn a single product photo into a full photo set.Sources
- Try-on Diffusion — Virtual Try-On with Diffusion Models — Reference for the two-stage try-on architecture: a garment-stage image, then a person-stage image that fuses the garment onto the body.
- IDEA Research — Virtual Try-off — Reference for the clothing-agnostic person representation that lets a garment be described without describing a body.
- Stable Diffusion — Latent Diffusion Models (Rombach et al.) — Reference for the denoising process behind the relight and blend stages.
- arXiv — Diffusion Models for Virtual Try-On survey — Reference for how modern try-on pipelines combine a clothing encoder with a body-aware diffusion model.