How to Keep the Original Face and Details in Image to Image AI?
How to keep a face and fine detail intact when editing a photo with image to image AI — source preparation, strength, prompt wording, and a recovery pass.
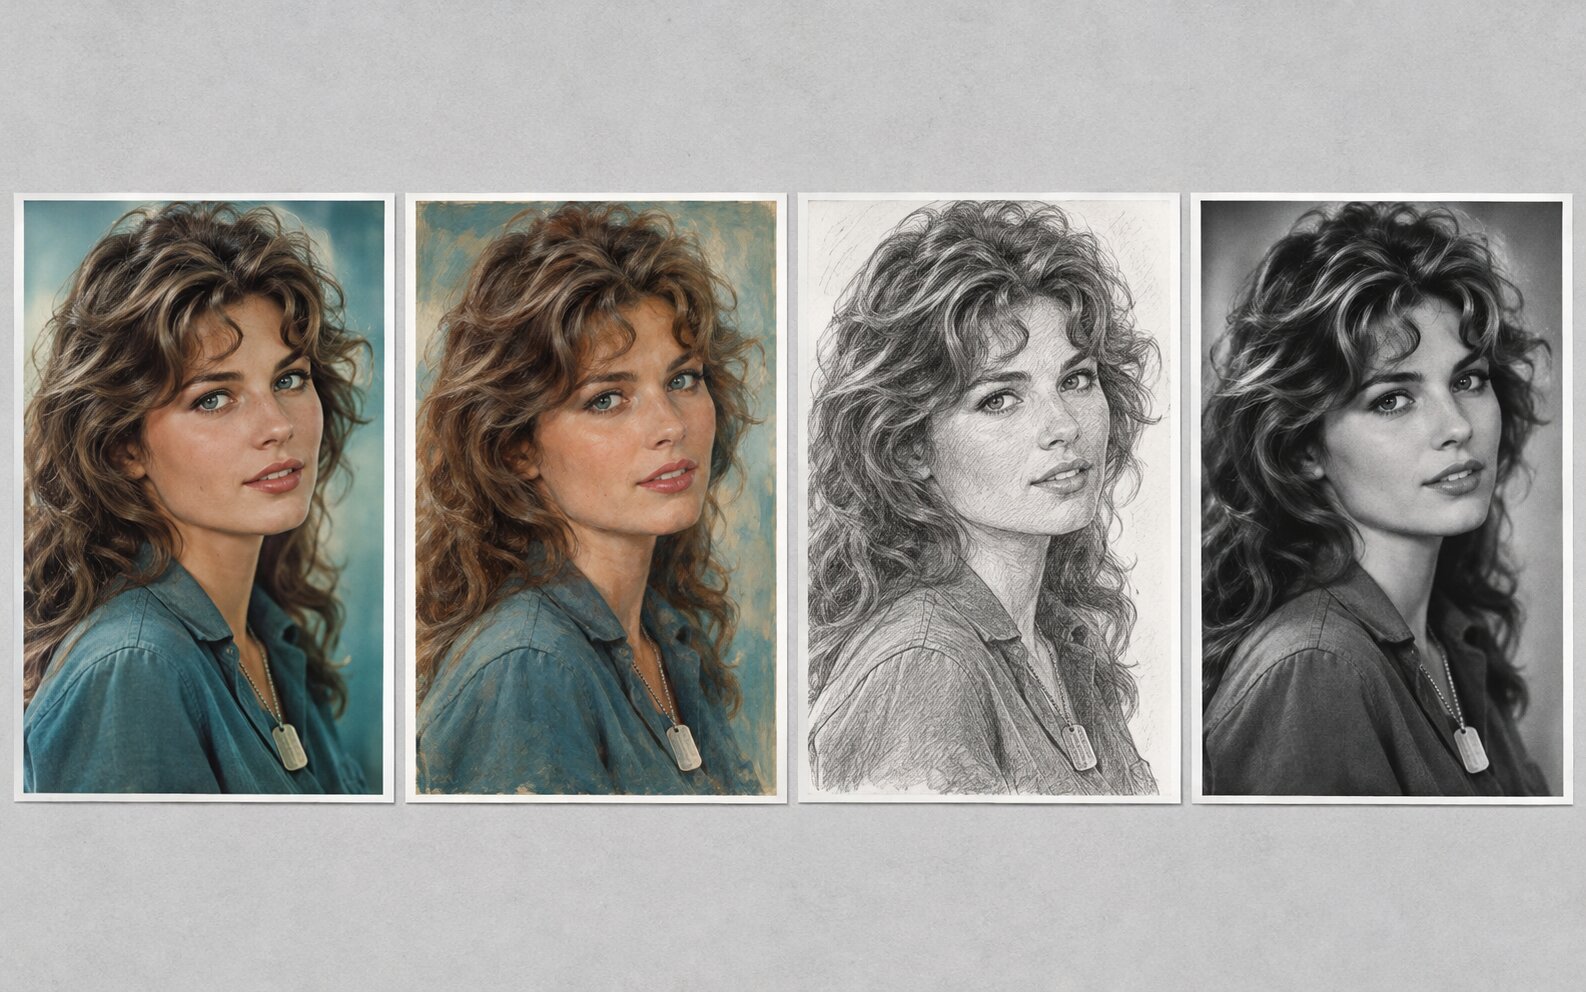
Keeping the original face and the fine detail of a photo intact while changing everything around it is the hardest thing to get right in image to image AI. It is also the thing that matters most, because a photo whose face has drifted is not a usable result — no matter how good the new background is. The good news is that the model is already working in your favour, and four levers make the difference.
Why the Face Survives at All
The model does not copy your face. It re-draws it, conditioned on an identity embedding extracted from the source photo — a compact representation of the face's structure rather than its pixels.
That single design choice explains everything about the behaviour you will see:
- The shape survives. Face proportions, expression, and the general arrangement of features are what the embedding carries, so they hold.
- The surface does not. Freckle patterns, small scars, exact eyebrow shape, individual hair strands — none of that is in the embedding, so it gets re-invented to fit the new rendering.
- The lighting is re-cast. Shadow direction and highlight placement change to match the new scene, and a face lit differently is a face that reads slightly differently.
- Small sources lose more. Identity embeddings are extracted at low resolution. A tiny, compressed source gives the model very little to embed, so the reconstruction drifts further.
The Four Levers, in Order of Impact
1. The source photo
This is the biggest lever and the least glamorous. Everything else is a rounding error compared with giving the model a good file.
- Resolution. Below about 1024px on the long edge, faces are the first thing to smear. Crop a portrait to the head and shoulders and you have far more usable pixels than in the full frame.
- Sharpness. Motion blur and missed focus get amplified, not smoothed. A slightly soft but correctly exposed photo is better than a sharp one with a blown-out cheek.
- Light. A face lit evenly from the front gives the model a clean read on the features. Hard side light hides half the face in shadow and the model fills the gap with an average face.
- Expression. A neutral expression is easier to preserve than a grin, because an open mouth is a lot of high-frequency detail.
2. The strength setting
Strength decides how much of the original is re-rendered, and therefore how much of the face is re-drawn.
| Strength | Face handling | Use it for |
|---|---|---|
| 0.2–0.35 | Face is essentially intact | Colour grading, cleanup, mild edits |
| 0.35–0.5 | Face is recognisable, micro-detail softens | Background swaps, relighting, moderate restyles |
| 0.5–0.65 | Face holds shape, skin and hair texture change | Style transfer, season changes |
| 0.65–0.8 | Face is re-drawn but keeps the general likeness | Full reimagining, era changes |
| Above 0.8 | Only a rough resemblance remains | Starting over |
3. The prompt
One clause, in the same sentence as the edit: "keep the face and the pose". It is short, positive, and points at the two things that matter.
What works less well is a list of prohibitions — "do not change the face, keep the same eyes, same nose". Models follow positive instructions more reliably than negative ones, and a wall of "keep" clauses tends to make the model over-constrain everything, including the change you asked for.
4. The quality tier
Higher tiers render at a larger working resolution and often run a refinement pass. That costs more credits and more time, and it is worth it exactly when the subject is a face. If the output looks flat and plastic, the tier is usually a bigger lever than the prompt.
A Two-Pass Workflow for Maximum Preservation
When the change has to be large and the face has to stay put, one aggressive pass is the wrong approach. Two moderate passes work better:
- Pass one — moderate restyle. Set the strength around 0.5, change the style, keep the face. The face survives with minor softening, and the new surface is established.
- Pass two — light refinement. Use the result as the new source, set the strength to 0.25–0.35, and apply the finishing instruction — "restore sharpness and skin detail, keep everything else identical".
Each pass re-renders from a clean base, so the second pass starts from a face that is already correct. In our internal testing this two-pass route kept faces noticeably more faithful than a single pass at the equivalent final strength.
When the Face Already Drifted
If you have a result where the face is wrong, these are the recovery options in order of effort:
- Regenerate at a lower strength. Usually enough, and it costs one run.
- Regenerate at a higher tier. Sharpness and structure improve even when the likeness does not.
- Start over from the source with a stronger prompt clause. Sometimes the drift came from the prompt's emphasis.
- Crop the face region, upscale it, and composite it back. Try it freeAI Image UpscalerUpscale photos up to 4× without losing detail. restores resolution on the crop. This is manual work, but it is the only route to an exact face.
- Use a face swap tool instead. If you need the original face to be pixel-identical in a completely different scene, that is what a face swap model is built for — it carries the identity across rather than re-drawing it.
Common Problems and Solutions
| Symptom | Why it happens | What to do |
|---|---|---|
| The face is recognisable but not quite right | The identity embedding was low quality | Use a larger, sharper source; upscale small crops first |
| The face looks like a different sibling | Strength was high and no clause anchored the identity | Lower the strength and add "keep the face and the pose" |
| Skin looks plastic | The tier was low, so texture was substituted | Generate at a higher tier and name the texture you want |
| The face and the new background disagree on light | Two light interpretations were blended | Name one light source for the whole frame |
| Hair and ears have a halo | The subject boundary met a busy background | Crop tighter, or cut the subject out before editing |
| Detail is soft even though the source was sharp | The working resolution was low | Raise the quality tier and upscale the result |
| The expression changed | Expressions are high-frequency detail | Keep the strength low and use a neutral source expression |
Frequently Asked Questions
How does image to image AI keep my face the same?
Most modern models use a reference or identity embedding derived from the source photo. The face is re-rendered in the new style but conditioned on that identity, so the structure — the shape of the face, the proportions, the expression — stays recognisable. What is not preserved is pixel detail: freckle patterns, small scars, and exact hair texture are re-invented to fit the new rendering.
Why does my face look slightly different after an edit?
Because the model re-drew it rather than copying it. Identity is carried as a soft representation, and the model resolves it into a face consistent with the new lighting and style. The difference is usually invisible to strangers and quite visible to the person in the photo, which is why keeping the strength moderate matters.
What strength setting keeps the face most intact?
Lower is safer. Around 0.2 to 0.4 for colour and lighting work, 0.4 to 0.55 for a moderate restyle. Above roughly 0.7 the model rebuilds the face and only a loose resemblance survives.
What photo works best for keeping a face?
A large, sharp, evenly lit face looking towards the camera. Faces lose detail first when the source is small, compressed, motion-blurred, or lit from a hard side. If your only source is a small phone crop, upscale it before editing.
Does a face swap tool work better for keeping a face?
Different job. A face swap tool replaces the face with a reference identity, which is why it is used to change who is in the photo. Image to image keeps the identity that is already there and changes everything around it. If you want to keep the person and change the style, image to image is the right tool.
Can I recover detail after the edit?
Partly. Generating at the highest quality tier and then upscaling the result restores resolution and sharpness, but it cannot invent the exact detail the original had. The only reliable way to keep detail is to give the model a detailed source to begin with.
Which Tool Should You Use?
- Best for keeping a face while changing everything else: Image To Image AI by Dream Pixel AI — one photo, one prompt, HD output with a strength control for exactly this.
- Best for keeping a face pixel-identical in a new scene: Try it freeAI Face SwapSwap faces between two photos with realistic results. — it carries the identity across instead of re-drawing it.
- Best for restoring resolution on a small source or a cropped face: Try it freeAI Image UpscalerUpscale photos up to 4× without losing detail..
- Best for a whole headshot set from one photo: Try it freeAI Professional HeadshotsGenerate studio-quality headshots from a single selfie..
Open Try it freeAI Image EditorTransform a single photo with a text prompt — restyle, re-light, re-imagine. and run the same photo at strength 0.3 and again at 0.6. Comparing the two faces tells you exactly where your own source photo breaks down.
Want a workflow question answered? Get in touch — we read every message.
Try these tools
Try it freeAI Image EditorTransform a single photo with a text prompt — restyle, re-light, re-imagine.Try it freeAI Face SwapSwap faces between two photos with realistic results.Try it freeAI Image UpscalerUpscale photos up to 4× without losing detail.Try it freeAI Photoshoot GeneratorTurn a single product photo into a full photo set.Sources
- Google Research — Imagen Editor — Reference for identity-preserving text-guided edits of a supplied photograph.
- Stability AI — Research — Reference for latent-space diffusion encoding and decoding that underlies image-to-image generation.
- Hugging Face — Diffusers documentation — Reference for the strength parameter and how the starting image conditions the denoising process.