How to Swap Multiple Faces in One Photo with AI
Swap several faces in one group photo with AI in five steps: upload the group photo, add one replacement face per person, set the quality, generate, download.
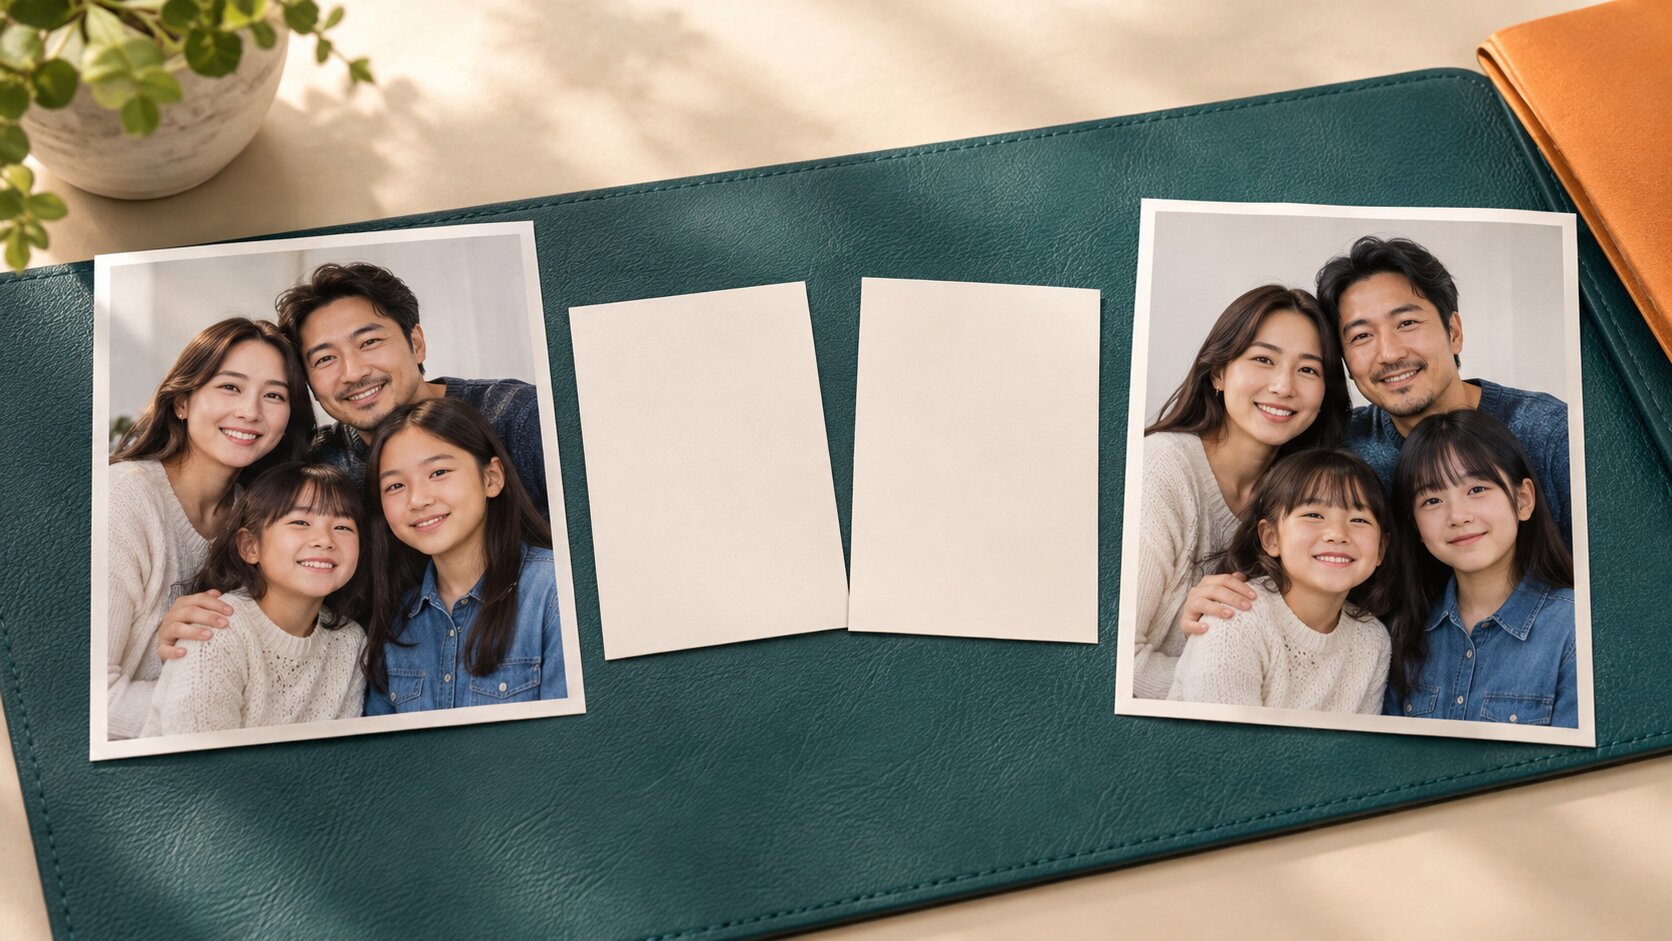
Swapping several faces in one photo with AI takes five steps and under a minute: upload the group photo that keeps the scene, add one clear photo of each replacement face, generate, and download. There is no mask to draw, no colour to match by hand, and no four separate renders to stitch together — the whole frame is redrawn in one pass.
This guide walks through the process with Try it freeAI Multiple Face SwapReplace up to eight faces in one group photo in a single run., including the photo choices that decide whether the group still looks real.
What You Need Before You Start
One group photo plus one portrait per person you are replacing.
A group photo. This is the picture that keeps everything: the framing, the clothing, the background, the body positions. It should be high resolution, with the faces separated from each other so none of them is hidden behind another.
One clear photo per replacement face. A sharp, front-facing, evenly lit portrait where the face fills a good part of the frame, with nothing covering the eyes or jaw. The replacement brings its own hairstyle into the result, so hair that is roughly consistent with the group blends in better than a completely different style. If you need a face that does not exist yet, Try it freeAI Face GeneratorGenerate realistic AI faces for any creative use. can produce one to use as a source.
There is no prompt to write. The group photo plus the replacement portraits are the whole instruction — the tool swaps each face into its seat and keeps the scene, clothing and framing untouched.
How to Swap Multiple Faces in One Photo: Step by Step
Step 1 — Upload the group photo first
Drop the group photo into the Group slot. It has to be first, because it defines the scene and the seat order — it decides which person the first replacement face will land on.
What works best in the group photo:
- At least 1024px on the long edge
- Faces separated from one another, not overlapping
- No face cut off by the edge of the frame
- Lighting that is soft rather than harsh or strongly backlit
- Everyone roughly the same distance from the camera
Step 2 — Add the replacement faces, left to right
Now fill the Face 1 to Face 8 slots. The order is not cosmetic — it is the mapping:
- Face 1 → the leftmost person in the group photo
- Face 2 → the second person from the left
- Face 3 → the third person from the left
- Face 4 → the fourth person from the left
- Face 5 → the fifth person from the left
- Face 6 → the sixth person from the left
- Face 7 → the seventh person from the left
- Face 8 → the eighth person from the left
You do not have to use all eight. A photo with three people needs the Group slot and Face 1 to Face 3; leave the rest empty.
What works best in each replacement photo:
- Face filling a good part of the frame, roughly 300px or more
- Looking at or near the camera
- No glasses, hat, hand or hair across the face
- Even, flat-ish lighting with no hard shadow on one side
- Original file, not a screenshot of a screenshot
Step 3 — Check the angles before you spend a generation
This is the step beginners skip, and it is the one that decides whether the result works. Look at each replacement photo against the group photo:
| Replacement face | Person in the group | Result |
|---|---|---|
| Straight on | Straight on | Best case — clean geometry, minimal invention |
| Slight turn | Straight on | Fine — a small amount of pose correction |
| Profile, 45° | Straight on | Risky — the model must invent the missing geometry |
| Straight on | Profile, 45° | Poor — same problem, mirrored |
| Any | Strong backlight | Poor — the model has to remove the original rim light |
If the angles are far apart, the honest fix is a different replacement photo — nothing in the tool can bridge a 30-degree pose difference. The head angle and the expression of the face you replace stay as they are in the group photo, but the closer the replacement photo is to that angle, the cleaner the identity transfer.
Step 4 — Choose settings and generate
Pick the quality tier, the aspect ratio and the number of variations. The chips next to the button show the exact credit cost of your current selection before you spend anything.
Generate two to four variations, not one. On a good set of photos, roughly one result in four is clean enough to use straight away. Four variations cost four times one variation, and they turn a coin-flip into a choice.
Step 5 — Compare and download
Open the results and look at them critically, face by face:
- Does each skin tone match the neck and hands in the group photo?
- Is the light direction consistent across all the faces and the scene?
- Is there a bright rim along any hairline?
- Does each face still look like the person you uploaded it for?
If a result fails on one of these, regenerate rather than trying to fix it in another tool. The remaining fixes are cheaper than a retake.
Common Problems and Their Fixes
| Problem | Cause | Fix |
|---|---|---|
| The wrong person got the wrong face | Replacement faces uploaded out of left-to-right order | Reorder the uploads so Face 1 matches the leftmost person |
| One face is not recognisable as the replacement | Replacement photo too small, blurry or heavily filtered | Use a sharper, closer, unedited portrait |
| A face looks pasted on | Head angles differ by more than about 20° | Pick a replacement with a similar angle |
| Skin tone clashes with the neck | Replacement and group tones are far apart | Match the tones when choosing photos |
| Halo around the hair | The blend boundary landed on a busy background | Choose a group photo with a simple background |
| Faces look softer than the photo | Replacement and group resolutions differ a lot | Match the quality tier to the group photo |
| Expression looks frozen | The replacement had a strong expression and the group another | Choose a replacement with a neutral or mild expression |
| Two faces came out swapped | The same replacement photo was used for two slots | Upload a different source for each person |
Where to Draw the Line
Use photos of yourself, of people who have agreed to it, or of licensed stock identities. Keep it to creative and clearly labelled work.
Never put a real person's face into content that misrepresents them — fake endorsements, fake statements, deceptive advertising, or anything intimate. Beyond the ethics, that is the fastest way to have your use of a tool revoked.
Frequently Asked Questions
How do I swap multiple faces in one photo?
Upload the group photo into the Group slot first. Then add a clear photo of each replacement face into the Face 1 to Face 8 slots — Face 1 goes to the leftmost person, Face 2 to the next one across, and so on. Press Swap Faces and the AI replaces every face in a single pass.
How many faces can I replace at the same time?
Up to eight. The group photo plus one to eight replacement faces makes two to nine uploads in total. You can also leave the later slots empty — a group photo with two faces needs only the Group slot and Face 1.
Does the order of the replacement faces matter?
Yes, completely. Replacements are applied left to right across the group photo, so the first replacement lands on the leftmost person. If the wrong person ends up with the wrong face, reorder the uploads rather than regenerating.
What photos work best for a multiple face swap?
For the group photo: high resolution, faces separated from each other, all clearly visible and not cut off at the frame edge. For each replacement: a sharp, front-facing, evenly lit portrait where the face fills a good part of the frame, with nothing covering the eyes or jaw. Keep the hairstyle reasonably close to the group, because the replacement brings its own hair into the frame.
Do I need Photoshop for this?
No. The whole point of an AI multiple face swap is that there is no layer stack, no mask, no colour matching and no brush work. You upload the photos, press generate, and download the finished group picture.
Why does one of the faces in my result look pasted on?
The three usual causes are a mismatched head angle, a replacement photo with harsh or backlighting, and a colour temperature that does not match the group. Fix the photos first — no setting can repair a 30-degree pose difference.
Can I undo a face swap?
There is nothing to undo, because the original group photo is never modified. Your generated results are kept separately in your image library, so you can always go back to the source photos and start again.
How long does it take to swap several faces?
A single run at 1K resolution takes seconds. Requesting a higher quality tier or four variations at once takes longer, because the model renders at a larger working resolution and runs additional passes over the whole frame.
Want a workflow question answered? Get in touch — we read every message.
Try these tools
Try it freeAI Multiple Face SwapReplace up to eight faces in one group photo in a single run.Try it freeAI Face SwapSwap faces between two photos with realistic results.Try it freeAI Image EditorTransform a single photo with a text prompt — restyle, re-light, re-imagine.Try it freeAI Face GeneratorGenerate realistic AI faces for any creative use.Sources
- InsightFace — Open-source face analysis toolkit — Reference for the detection, alignment and recognition stages that decide which photos can be swapped reliably.
- MIT Media Lab — DeepFake detection research — Reference for the visual tells that make a face swap read as synthetic, and how to avoid them.
- U.S. Federal Trade Commission — AI-generated content and impersonation guidance — Reference for consent and disclosure expectations when publishing photos with swapped faces.