How to Swap Faces in Photos with AI: A Beginner's Guide
Swap a face in any photo with AI in five steps: pick a clear source portrait, choose your target, generate, and download the result.
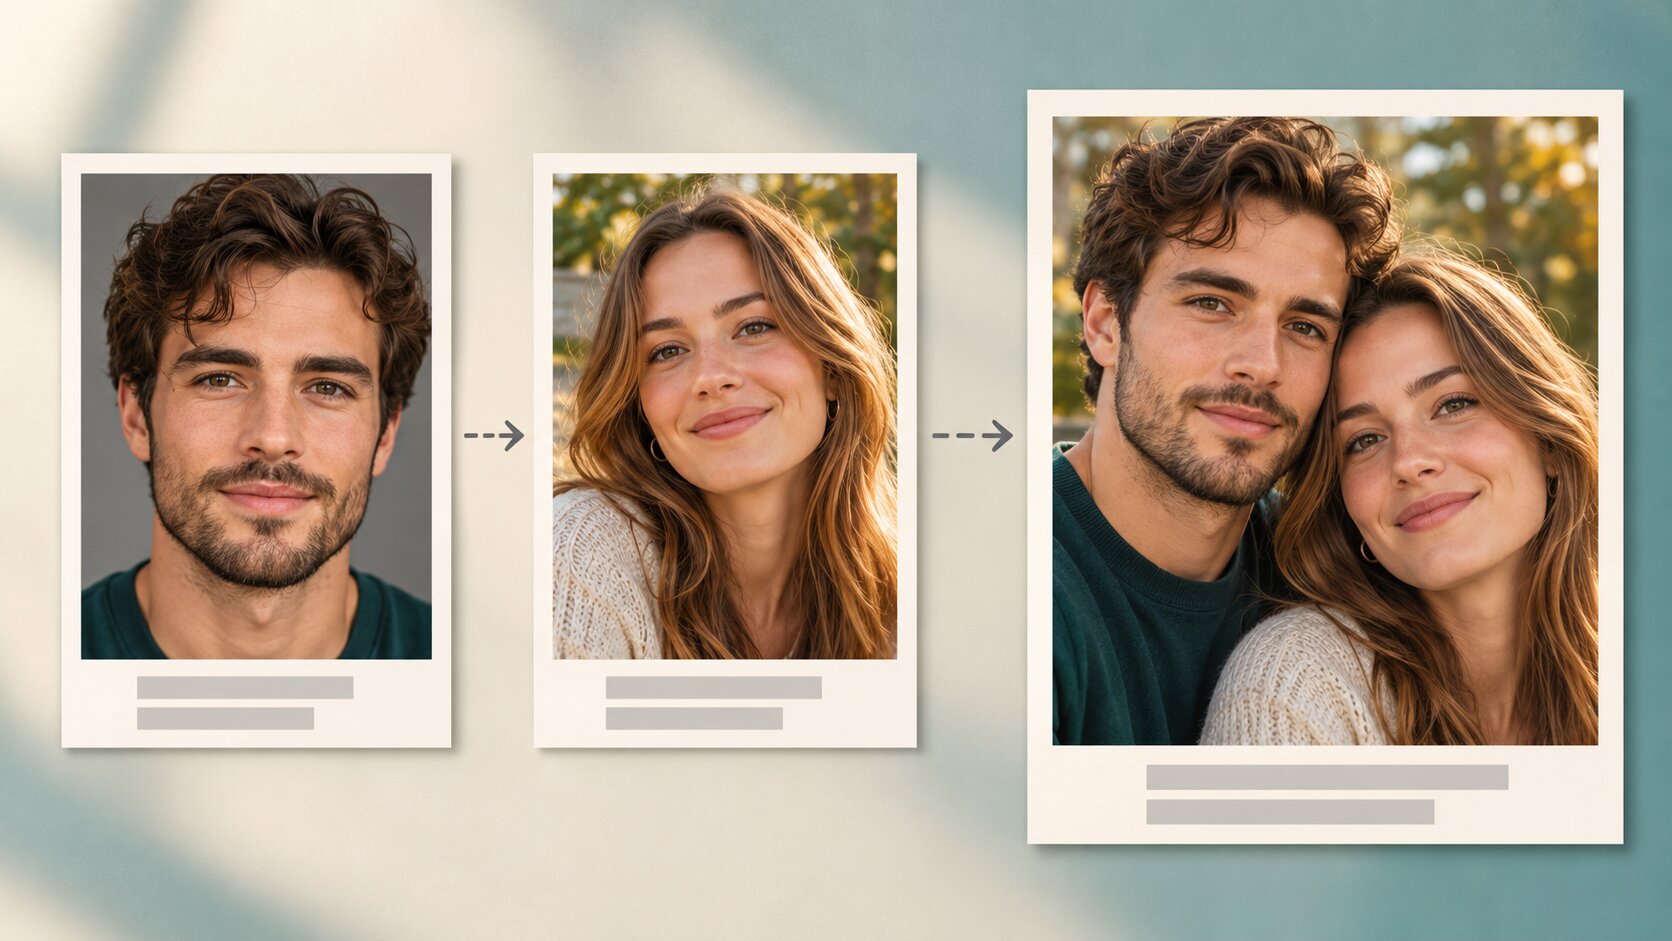
Swapping a face in a photo with AI takes about five steps and under a minute: upload a clear portrait of the face you want to use, upload the photo you want it to appear in, generate, and download. There is no mask to draw, no colour to match by hand, and no layer stack to manage — the model rebuilds the face to fit the new scene.
This guide walks through the whole process with Try it freeAI Face SwapSwap faces between two photos with realistic results., including the photo choices that decide whether the result looks real.
What You Need Before You Start
Two photos. That is genuinely all of it.
A source photo of the face. This is the identity that will be transferred. It should be sharp, front-facing, evenly lit, and not covered by sunglasses, a hat, a hand or heavy hair. If you want a completely new face rather than one of your own, Try it freeAI Face GeneratorGenerate realistic AI faces for any creative use. can produce a clean source portrait first.
A target photo. This is the picture the face is placed into. It should be at least 1024px on the long edge, have one clearly visible face, and have lighting that is soft rather than harsh.
There is no prompt to write. The photos are the whole instruction — the tool knows to transplant the source identity onto the target and rebuild it to match the target's pose, light and colour.
How to Swap Faces in Photos with AI: Step by Step
Step 1 — Upload the source face
Drop a photo into the Face slot. Watch the preview: the tool shows what it detected, and if the face is too small, angled or blurred, the preview tells you before you spend a generation.
What works best:
- Face filling a good part of the frame, roughly 300px or more
- Looking at or near the camera
- No glasses, hat, hand or hair across the face
- Even, flat-ish lighting with no hard shadow on one side
- Original file, not a screenshot of a screenshot
Step 2 — Upload the target photo
Drop the second photo into the Target slot. The tool only regenerates the face region — the background, clothing, body and pose of this photo stay exactly as they are, so choose a target that already looks good.
Step 3 — Compare the two angles
This is the step beginners skip, and it is the one that decides whether the swap works. Look at both photos side by side:
| Source face | Target face | Result |
|---|---|---|
| Straight on | Straight on | Best case — clean geometry, minimal invention |
| Slight turn | Straight on | Fine — a small amount of pose correction |
| Profile, 45° | Straight on | Risky — the model must invent the missing geometry |
| Straight on | Profile, 45° | Poor — same problem, mirrored |
| Any | Strong backlight | Poor — the model has to remove the original rim light |
If the angles are far apart, the honest fix is to choose a different target photo — nothing in the tool can bridge a 30-degree pose difference.
Step 4 — Choose settings and generate
Pick the quality tier and the number of variations. The chips next to the Generate button show the exact credit cost of your current selection before you spend anything.
Generate two to four variations, not one. On a good pair of source and target photos, roughly one in four results is clean enough to use straight away. Four variations cost four times one variation, and they turn a coin-flip into a choice.
Step 5 — Compare and download
Open the results and look at them critically:
- Does the skin tone match the neck and hands in the target?
- Is the light direction consistent with the scene?
- Is there a bright rim along the hairline?
- Does the face still look like the source person to someone who knows them?
If a result fails on one of these, regenerate rather than trying to fix it in another tool. The remaining fixes are cheaper than a retake.
What You Can Do With a Swapped Face
Put yourself in a scene. The classic use — swap your face onto a professional headshot, a travel photo or a film still.
Try a different look. Keep the same face, change the era or the style: a 1980s film photo, a 1950s studio portrait, a painterly rendering.
Concept and pre-visualisation. See how a character or a casting choice would look before committing to the design.
Localise creative work. Adapt an existing campaign image for a different market without booking a new shoot.
Common Problems and Their Fixes
| Problem | Cause | Fix |
|---|---|---|
| The result is not recognisable as the source | Source photo too small, blurry or heavily filtered | Use a sharper, closer, unedited portrait |
| The face looks pasted on | Head angles differ by more than about 20° | Pick a target with a similar angle |
| Skin tone clashes with the neck | Source and target tones are far apart | Match the tones when choosing photos |
| Halo around the hair | Blend boundary landed on a busy background | Choose a target with a simple background |
| Face too soft compared with the photo | Source and target resolutions differ a lot | Match the quality tier to the target |
| Expression looks frozen | Source had a strong expression and the target another | Choose a source with a neutral or mild expression |
| Colour is off between the two photos | Different white balance in the source and target | Edit the source photo to match the target first |
Where to Draw the Line
Use photos of yourself, of people who have agreed to it, or of licensed stock identities. Keep it to creative and clearly labelled work.
Never put a real person's face into content that misrepresents them — fake endorsements, fake statements, deceptive advertising, or anything intimate. Beyond the ethics, that is the fastest way to have your use of a tool revoked.
Frequently Asked Questions
How do I swap a face in a photo?
Upload a clear photo of the face you want to use as the source, upload the photo you want it to appear in as the target, and press Generate. The tool detects both faces, keeps the source identity and rebuilds it to match the target pose and lighting.
What photos work best for face swapping?
For the source: a sharp, front-facing, evenly lit portrait with the face filling a good part of the frame and nothing covering the eyes or jaw. For the target: at least 1024px on the long edge, one visible face, and lighting that is not harsh or strongly backlit.
Do I need Photoshop for this?
No. The whole point of an AI face swap is that there is no layer stack, no mask, no colour matching and no brush work. You upload two photos, press Generate, and download the finished image.
Can I swap my face into a group photo?
You can, but most single-face tools swap only the most prominent face in the photo. To replace several faces at once you need a dedicated multi-face tool, and each face still has to be matched to a source portrait individually.
How long does it take to swap a face?
A single swap at 1K resolution takes seconds. Requesting a higher quality tier or four variations at once takes longer, because the model renders at a larger working resolution and runs additional passes.
Why does my swapped face look pasted on?
The three usual causes are mismatched head angles, a target photo with harsh or backlighting, and a colour temperature that does not match between the two photos. Fix the photos first — no setting can repair a 30-degree pose difference.
Can I undo or redo a face swap?
There is nothing to undo, because the original target photo is never modified. Your generated results are kept separately, so you can always go back to the source files and start again.
Is it legal to swap faces in photos?
Swapping faces in photos you own, or in photos of people who have agreed to it, is generally fine for creative work. Using someone’s face to create deceptive, defamatory or intimate imagery without consent is not, and it violates the terms of every reputable tool.
Want a workflow question answered? Get in touch — we read every message.
Try these tools
Try it freeAI Face SwapSwap faces between two photos with realistic results.Try it freeAI Image EditorTransform a single photo with a text prompt — restyle, re-light, re-imagine.Try it freeAI Face GeneratorGenerate realistic AI faces for any creative use.Try it freeAI Professional HeadshotsGenerate studio-quality headshots from a single selfie.Sources
- InsightFace — Open-source face analysis toolkit — Reference for the detection, alignment and recognition stages that determine which source photos work.
- MIT Media Lab — DeepFake detection research — Reference for the visual tells that make a face swap read as synthetic, and how to avoid them.
- U.S. Federal Trade Commission — AI-generated content and impersonation guidance — Reference for consent and disclosure expectations when publishing photos with a swapped face.