How to Make Multiple Face Swaps Look Realistic
Four things decide whether a multi-face swap looks real: matching light, tone continuity, clean edges and matched resolution. Here is how to hit each one.
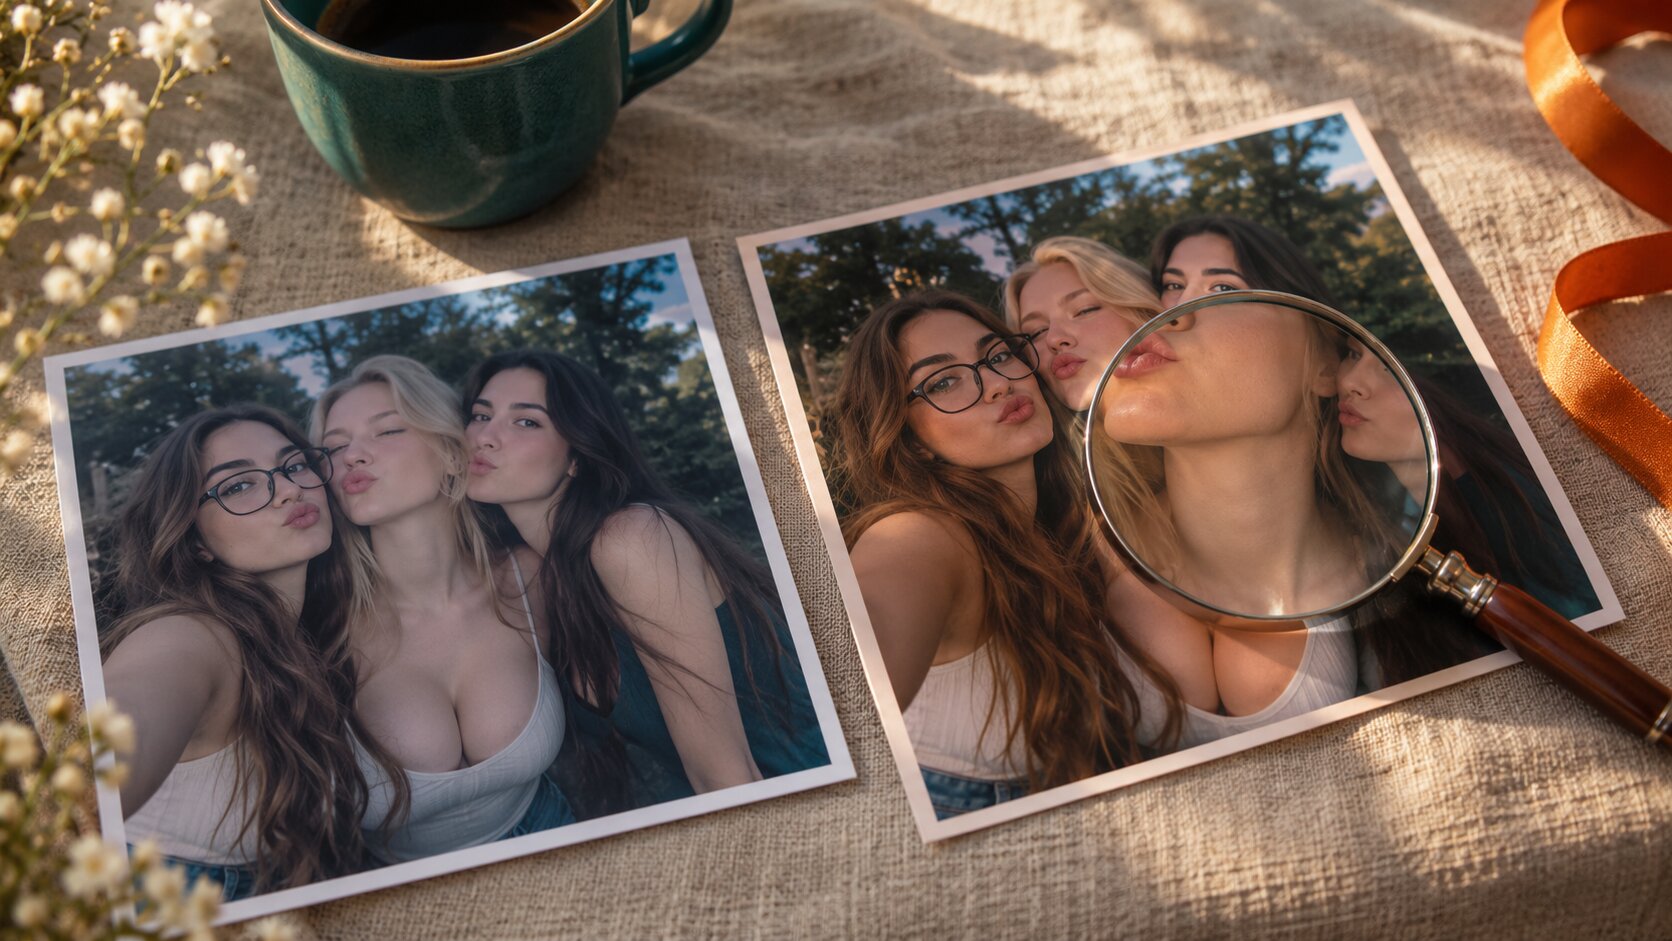
A multiple face swap looks real when every face agrees with the scene around it — the same light direction, the same skin tone, the same sharpness and the same grain. When it looks fake, it is almost always one of those four things being off, and it is almost always fixable by changing the input photos rather than by changing anything in the tool.
Here is how to control each one, with Try it freeAI Multiple Face SwapReplace up to eight faces in one group photo in a single run..
1. Match the Light
Lighting agreement is the biggest single factor. The brightest part of each face should sit on the same side as the brightest part of the scene. When it does not, the face reads as artificial no matter how good the geometry is.
In practice:
- Overcast daylight is the safest group photo. Soft, even light leaves the model nothing to get wrong.
- Golden hour is the hardest. Strong directional light means every face is lit from a specific side, and every replacement has to agree with it.
- Hard midday sun is the worst. Deep shadow under the brow and a bright rim along the hair are exactly the two things the blend stage struggles with.
- Mixed indoor lighting is the worst of all. A warm lamp on one side and a window on the other gives the model contradictory cues.
A quick test before you upload: look at the group photo and ask which side of each face is brighter. If the answer differs from person to person, the scene is lit from several directions and the swap will struggle.
2. Keep Skin Tone Continuous
Most models take the skin tone from the replacement face and the shading from the group photo. Mixing a very light replacement with a very dark scene produces a face that looks painted on.
| Situation | What happens | Fix |
|---|---|---|
| Very pale replacement, dark scene | Face looks like a mask | Choose a darker-toned replacement |
| Deeply tanned replacement, pale scene | Face looks orange against the group | Match the tone before uploading |
| Yellow indoor flash, neutral group photo | Faces look sallow | Pick a replacement shot in daylight |
| Heavily filtered replacement | Skin texture fights the group grain | Use an unedited portrait |
If the tones are close but not exact, nudge the group photo's white balance in any editor first. Two minutes of colour matching before the swap saves a lot of regenerations after it.
3. Watch the Edges
Hair, the jawline and the ears are the hardest parts to blend. A halo of bright pixels along the hairline is the single most common tell, and in a group photo one bad hairline distracts from all the other faces.
What causes it:
- Hair against a busy background. The blend boundary has nothing clean to land on, so it leaks.
- Flyaway hair or a hat brim. The model has to invent the edge, and it usually guesses too bright.
- A face turned slightly away. The jawline is partly hidden and partly generated.
The fix is on the input side: choose a group photo with a simple, uncluttered background behind the heads, and a replacement photo where the hair is tidy and the head is not turned far from the camera.
4. Match the Resolution
A face rendered at 1024px and pasted into a 4000px photo will be visibly softer than its surroundings. The eye reads the mismatch as "composite" even without naming why.
So:
- Generate at the quality tier that matches the group photo's resolution, not above it.
- Do not upload a small replacement into a large group photo — the new face has less detail than everything around it.
- Avoid heavily compressed group photos. Compression artefacts around the hairline survive the swap and get amplified.
5. Get the Mapping Right
A wrong mapping is not a subtle realism problem — it is immediately obvious, and it makes people blame the tool when the photos were fine.
Because replacements are applied left to right across the group photo, sort your people by their horizontal position in the picture before you upload:
- Leftmost person → Face 1
- Second from the left → Face 2
- Third from the left → Face 3
- Fourth from the left → Face 4
- Fifth from the left → Face 5
- Sixth from the left → Face 6
- Seventh from the left → Face 7
- Eighth from the left → Face 8
A family group where the smallest child stands on the left is the classic mistake. Read the picture, not the family tree.
6. Generate More Than One
On a good set of photos, roughly one result in four is clean enough to use straight away. Request two to four variations rather than one — the cost scales with the number of images, and four variations turn a coin-flip into a choice you can actually make.
When comparing, look at the frame as a whole first and the faces second. A result where every face is slightly soft usually beats one where three faces are perfect and the fourth is clearly a cut-out.
Quick Checklist Before You Generate
- Group photo is high resolution with separated, fully visible faces
- Every replacement photo is sharp, front-facing and evenly lit
- Every replacement photo has a hairstyle that does not clash with the group, since the hair carries into the result
- Replacement faces are ordered left to right to match the group photo
- Skin tones are within a couple of steps of each other
- The light direction in the group photo is consistent across faces
- The background behind the heads is not busy
- The quality tier matches the resolution of the group photo
- More than one variation is selected
Frequently Asked Questions
Why does my multiple face swap look fake?
Almost always the input photos rather than the tool. The four usual causes are a mismatched head angle, a replacement photo with harsh or backlighting, a skin tone that does not match the group, and a bright rim along the hairline from a hard blend boundary.
How do I stop the swapped faces looking pasted on?
Match the light first — the bright side of every face has to agree with the bright side of the scene. Then match the skin tone to the neck and hands, pick a group photo with a simple background so the blend boundary is clean, and choose a quality tier that matches the resolution of the group photo.
Should all the replacement faces have the same lighting?
No — they should each match the group photo, not each other. A face lit from the left in a scene lit from the right is the problem. What matters is that every face agrees with the scene, and a single shared light model in the render takes care of that for you.
Does the order of the replacement faces affect realism?
Only in one way: the order decides who gets which face, and a wrong mapping is instantly obvious. Once the mapping is right, the ordering has no further effect on how realistic the output looks.
What resolution should I generate at?
Match it to the group photo. A face rendered at 1024px and pasted into a 4000px picture will be visibly softer than its surroundings, and the eye reads that as a composite even without being able to say why.
Why does one face in the group look worse than the others?
Because a multi-face render inherits the quality of its weakest input. One replacement photo with a bad angle or a mismatched tone drags down the perceived realism of the whole frame, so fix that one face and regenerate.
The One Thing That Is Not a Fix
If the result is wrong, regenerate with better inputs rather than fixing it in another tool. Every extra step — a colour grade in an editor, a second swap pass, a manual paste — adds another seam for the eye to find. The swap is one operation, and the honest way to get it right is to give it better photos.
Want a workflow question answered? Get in touch — we read every message.
Try these tools
Try it freeAI Multiple Face SwapReplace up to eight faces in one group photo in a single run.Try it freeAI Face SwapSwap faces between two photos with realistic results.Try it freeAI Image EditorTransform a single photo with a text prompt — restyle, re-light, re-imagine.Try it freeAI Professional HeadshotsGenerate studio-quality headshots from a single selfie.Sources
- MIT Media Lab — DeepFake detection research — Reference for the visual tells that make a face swap read as synthetic, and how to avoid them.
- InsightFace — Open-source face analysis toolkit — Reference for the detection, alignment and recognition stages that decide which photos blend well.
- arXiv — Identity-Preserving Face Swapping survey — Reference for the encoder-decoder architecture that separates identity from appearance in face swap models.