How to Make AI Face Swaps Look Realistic: 7 Tips for Better Results
Seven practical fixes for uncanny AI face swaps: match the angles, match the light, match the tone, use a clean source, and check the edges before you publish.
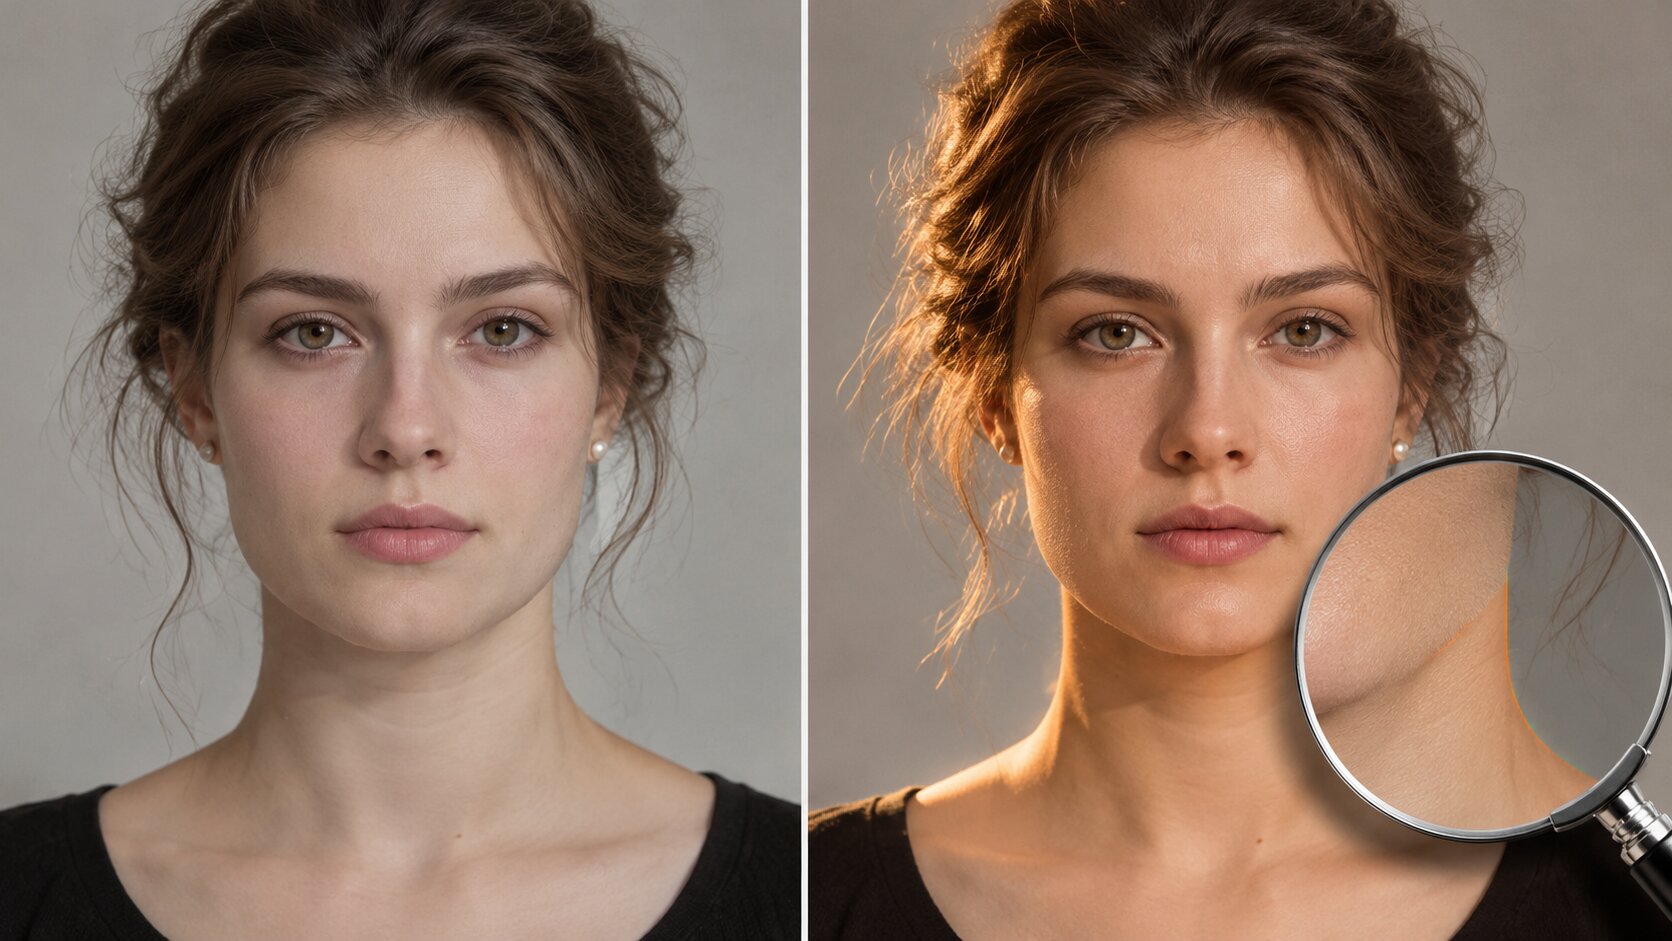
An AI face swap that looks fake almost always fails in one of four places: the lighting does not agree with the scene, the skin tone does not match the neck, the edges around the hair and jaw are visible, or the face is sharper or softer than the rest of the picture. None of those are fixed by a setting — they are fixed by the photos you choose and the checks you make before you publish.
Seven fixes, in the order they matter, using Try it freeAI Face SwapSwap faces between two photos with realistic results..
Tip 1 — Match the Head Angle of Both Photos
This is the biggest single factor. The model matches the source face to the target's pose, and if the source is at 20° while the target is straight on, it has to invent the geometry between them. Invented geometry is what produces a face that looks subtly wrong in a way people describe as "off" without being able to say why.
In practice: compare the two photos before generating. If the source is a slight three-quarter turn and the target is frontal, you are fine. If the source is a profile and the target is frontal, change one of them.
Tip 2 — Match the Light, Not Just the Brightness
Two things about light have to agree: the direction, and the softness.
Direction. The highlight on the swapped face should fall on the same side as the highlight on the target's environment. If the target is lit from the left and the result is lit from the right, the face reads as fake instantly.
Softness. A face lit by a soft window will look wrong pasted onto a scene lit by direct sun, and the other way round. Matching the target's shadow hardness matters more than matching its overall brightness.
In practice: look for the shadows in the target photo. If there is a hard shadow across the cheek or a bright rim behind the head, that is the lighting the face has to agree with.
Tip 3 — Match the Skin Tone
Most models take the base skin tone from the source and the shading from the target. That means a light source face on a dark target keeps a light face, and the boundary at the jaw and neck becomes visible.
In practice: pick a source and target with reasonably close skin tones. If you have no choice, adjust the source photo's colour temperature before uploading — a few clicks in any photo editor is enough, and it removes one of the most reliable tells.
Tip 4 — Use a Clean, Sharp, Unretouched Source
The model can only preserve detail that is present in the input. Three common sources of trouble:
- Low resolution. If the face is smaller than about 300px in the source, there is not enough information to rebuild.
- Beauty filters and skin smoothing. These remove the micro-texture the model uses to render a face that looks real, so the output comes back waxy.
- Blur and compression. A JPEG saved at quality 40 gives the model blocks to work with, and blocks survive into the result.
In practice: use the original camera file. If the only copy you have is small or heavily compressed, upscale it first with Try it freeAI Image UpscalerUpscale photos up to 4× without losing detail., though a genuinely good original is always better.
Tip 5 — Check the Edges: Hair, Jaw, Ears
These three boundaries are where a blend fails. Before publishing, zoom in on:
- The hairline. A bright or dark rim here is the most common artefact.
- The jaw and neck. This is where the tone mismatch from Tip 3 shows up.
- The ears. They are hard to reconstruct and often look slightly soft or oddly shaped.
If the edges are the problem, the fix is usually a different target photo rather than another generation. A target where hair falls against a plain background gives the blend stage something clean to work with.
Tip 6 — Match the Resolution and Sharpness
A face rendered at 1024px dropped into a 4000px photograph will be visibly softer than everything around it. The same face in a 1200px photo looks fine.
In practice: generate at the quality tier that matches the target photo, then downscale if needed. Never upscale a 1K face to fill a print — the softness becomes obvious at print size.
Tip 7 — Generate More Than One Variation
On a well-matched pair of photos, roughly one result in four is clean enough to use without any further work. Generating one and accepting it is the most common way people end up with a disappointing swap.
In practice: generate two to four variations, then compare them against a short checklist:
- Does the skin tone match the neck and hands?
- Is the light direction consistent with the scene?
- Is there a rim along the hairline?
- Does the face still look like the source person?
Any result that fails one of those checks is out. Pick the best of what you generated rather than trying to repair a bad one elsewhere.
The Checklist Before You Publish
| Check | Looks right | Looks wrong |
|---|---|---|
| Lighting direction | Face highlight on the same side as the scene | Face lit from the opposite side |
| Shadow hardness | Face shadows as soft or as hard as the scene | Crisp studio shadow on a soft outdoor face |
| Skin tone | Face matches the neck and hands | Face noticeably lighter or darker |
| Hairline | No bright or dark rim | Visible halo or outline |
| Jaw and neck | Smooth transition | Hard edge or colour break |
| Sharpness | Face as sharp as the rest of the picture | Face clearly softer or crisper |
| Identity | Still recognisably the source person | Drifted into a generic face |
| Background | Untouched, exactly as the original | Distorted or warping around the head |
What To Do When It Still Looks Wrong
If you have run through all seven and the result still reads as fake, the problem is the photo pair, not the settings. Move on and pick a different target. A target with softer, more even light and a plain background behind the head will fix results that no amount of regeneration touches.
And if the goal is not to place a real face somewhere new but to re-imagine an entire picture — new lighting, new style, new background — use Try it freeAI Image EditorTransform a single photo with a text prompt — restyle, re-light, re-imagine. instead. It re-renders the whole frame against a prompt rather than transplanting a single face region.
Frequently Asked Questions
Why does my AI face swap look unnatural?
In almost every case the cause is in the photos rather than the model: the head angles differ too much, the target has harsh or backlighting, the two skin tones are far apart, or the source was low-resolution or heavily filtered. Fixing the input photos fixes the output.
What makes a face swap look realistic?
Realism comes from four things agreeing with each other: the light direction on the face matches the scene, the skin tone matches the neck and hands, the face resolves at the same sharpness as the photo around it, and the edges where hair, jaw and ears meet the background look continuous.
Do the settings make a face swap look more realistic?
Barely. The only settings are resolution, aspect ratio and the number of variations, and none of them can fix a 30-degree pose difference or a colour-temperature mismatch between the two photos. Those are input problems, and only better input fixes them.
How many variations should I generate?
At least two, and four if the credit cost allows. On a well-matched photo pair roughly one result in four is clean enough to publish as-is, so generating one and accepting whatever comes back is the most common way people end up with a bad swap.
Why is there a bright outline around the hair?
That halo is the blend stage failing to find a clean boundary, usually because the hair edge sits against a busy background or because the two photos have very different sharpness. Choose a target where hair falls against a simple background and the edge resolves cleanly.
Can I make a face swap look like a real photo of the target person?
No — and you should not want to. The point of the swap is that the result shows the source identity, and the target scene around it stays genuine. What you are aiming for is that the result reads as one coherent photograph, which is exactly what the tips above deliver.
What resolution should I upload?
At least 1024px on the long edge for the target, and a source where the face itself is roughly 300px or more. Below that, the model cannot resolve jawline and eye detail, and the result comes out soft.
Want a workflow question answered? Get in touch — we read every message.
Try these tools
Try it freeAI Face SwapSwap faces between two photos with realistic results.Try it freeAI Image EditorTransform a single photo with a text prompt — restyle, re-light, re-imagine.Try it freeAI Image UpscalerUpscale photos up to 4× without losing detail.Try it freeAI Professional HeadshotsGenerate studio-quality headshots from a single selfie.Sources
- InsightFace — Open-source face analysis toolkit — Reference for the landmark alignment and identity encoding stages that determine how much detail survives a swap.
- MIT Media Lab — DeepFake detection research — Reference for the physical tells — halos, skin texture, lighting mismatch — that make a swap read as synthetic.
- arXiv — Identity-Preserving Face Swapping survey — Reference for why pose, illumination and resolution are the dominant factors in swap quality.