How Does an AI Image Combiner Work? The Full Pipeline
A step-by-step look inside AI image combining — encoding, conditioning, identity references, denoising, and decoding — and what each stage means for you.
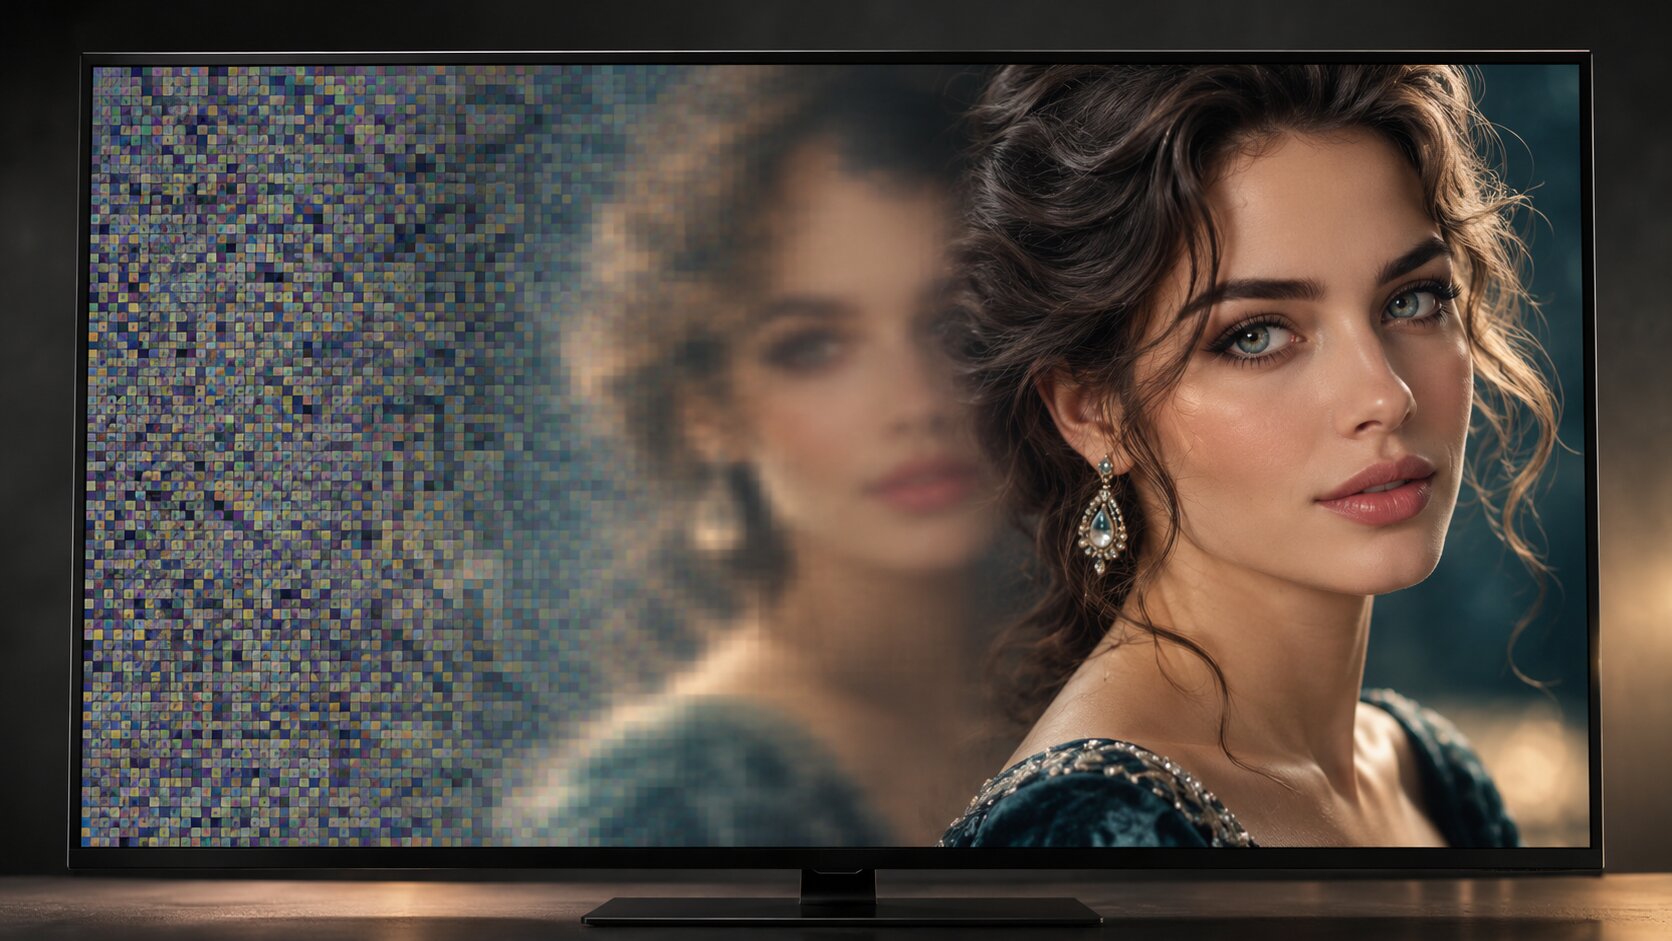
An AI image combiner works by re-drawing your photographs, not by pasting them. Each source image is compressed into a latent map, your prompt and a reference embedding are attached to it, and a denoising loop reconstructs a brand-new picture where every subject appears in one scene. Understanding that five-stage pipeline explains almost every behaviour you will meet as a user — why faces drift, why lighting unifies, and why scale goes wrong.
How Does an AI Image Combiner Work?
Here is what happens between pressing Generate and seeing an image.
Stage 1 — Encoding the source photos
Each uploaded image is normalised (resized to the model's working resolution, converted to a standard colour space) and passed through a variational autoencoder. The encoder compresses the photo into a small tensor that keeps structure and content but throws away most of the raw pixel detail.
This compression is why a source photo below roughly 1024px on its long edge starts to lose facial and edge detail — there simply is not enough information left in the latent to reconstruct it.
Stage 2 — Conditioning on your prompt
Your prompt is split into tokens, mapped to vectors, and injected into the network through cross-attention. At every stage of the denoising process, the network asks two questions about each region of the image: what does the text say should be here? and what do the other parts of the image already say?
This is the mechanism that lets a sentence like "two people standing on a rooftop balcony at golden hour" produce a layout, a setting, and a light all at once, from a model that was never told what a balcony looks like in your photo.
Stage 3 — Reference identity conditioning
Text alone is not enough for a merge. If it were, the model would invent a generic person who happens to share your subject's hair colour.
So modern combiners add a second conditioning path: an identity or reference embedding computed from your source images — face geometry, product shape, colour signature, texture statistics. These embeddings are injected alongside the text attention and tell the model which specific subject should occupy the region the text describes.
This step is what makes a two-person merge recognisable. It is also why identity can drift: identity is a compressed statistical description, not a copy of the pixels.
Stage 4 — The denoising loop
The model starts from a field of noise and repeatedly predicts and removes noise. Between roughly 20 and 50 passes, each one nudging the image slightly further toward a picture that satisfies both conditions:
- the text attention wants it to match your description
- the reference embedding wants the subject to match your source photo
The passes early in the loop settle the composition. The passes late in the loop settle the texture, skin detail, and edges. That is why a generation with a bad layout cannot be rescued by "just running it longer" — you need a new run with a better prompt.
Most of your wait time is spent here. On a modern GPU, a 1024px output takes 5 to 15 seconds; higher tiers take proportionally longer.
Stage 5 — Decoding
The finished latent is expanded back into pixels by the decoder, then optionally passed through an upscaling step. What you download is a fresh photograph that was never in your camera roll.
Traditional Compositing vs. AI Combining
| Manual compositing (layers + masks) | AI image combining | |
|---|---|---|
| How it works | Cut out a subject, paste it over another image | Regenerate the whole frame from references |
| Lighting | Stays mismatched unless you fix it manually | Unified automatically |
| Edges | You cut them, so they show | Re-rendered, so they blend |
| Time for a decent result | 20 minutes to several hours | 5 to 15 seconds |
| Exact logo or text | Preserved perfectly | May be redrawn inaccurately |
| Needs manual skill | Layer masks, blending modes, colour matching | None beyond writing a prompt |
| Repeatable across a batch | Slow | One prompt, dozens of outputs |
The honest summary: manual compositing is more precise, AI combining is faster and more forgiving. Professionals routinely use both — AI for the base composite, manual work for the details a model cannot be trusted with.
Which Parts of the Pipeline You Can Actually Control
You never touch stages 1 to 5 directly, but each one has a user-facing lever:
- Encoding → upload quality. Sharper, larger, better-compressed sources produce a better latent. Upscale small photos first.
- Text conditioning → prompt wording. Specific, scene-shaped sentences beat keyword soup.
- Reference conditioning → image order and which photos you include. The first upload usually anchors the scene.
- Denoising → quality tier and variation count. Higher tiers run a more careful reconstruction; more variations give you more chances at a good layout.
- Decoding → aspect ratio and output resolution. Match the final crop you need.
Why Results Fail — Mapped to the Pipeline
Identity drift (stage 3). The reference embedding was built from a soft, slightly blurry photo, so the identity it encoded was soft too. Fix: sharper sources, higher tier, a prompt that says the faces must be preserved exactly.
Lighting mismatch (stage 4). Two contradictory light directions were in the references, and the model split the difference. Fix: re-light one source first, or name the light explicitly in the prompt.
Scale mismatch (stage 4). The prompt gave no framing information, so the model had no basis for relative size. Fix: state framing — "waist-up, subject fills the left third".
Duplicated subjects (stage 4). The model was uncertain how many people the scene contained. Fix: state the count.
Garbled text (stage 5). Text is decoded like any other texture, and the model does not reliably reproduce letterforms. Fix: plan to add the text in a design tool afterwards.
Frequently Asked Questions
How does an AI image combiner actually merge two photos?
It encodes each photo into a compressed latent representation, attaches your text prompt and a reference embedding for the subjects, then runs a denoising loop that reconstructs a brand-new image where both subjects appear in one scene. The final latent is decoded back into a JPEG or PNG. No pixels are copied from the originals.
Do AI image combiners use a mask like Photoshop?
Modern combiners usually do not need one. The model infers what each reference contributes from the prompt and the reference embeddings. Some tools add optional masks for extra control, but the default workflow is prompt-driven with no manual selection.
Why does my merged face look slightly different from the original?
The model re-renders the face rather than copying it. Identity is carried through a numerical embedding, so the likeness survives, but pore-level detail, small tattoos, and exact freckle patterns can be re-imagined. Raising the quality tier and using a sharper source photo reduces the drift.
How long does an AI image combine take?
On a modern GPU, 5 to 15 seconds for a 1024px output. Higher resolution tiers take longer, and peak-hour queues can add another 30 to 120 seconds. Uploading and downloading your photos is usually a small fraction of the total time.
Is the result stored on your servers?
Reputable services delete uploads within 24 to 72 hours by default. Dream Pixel AI stores generated images in your library so you can download them later, and applies a short lifecycle to anonymous uploads.
Which AI Image Combiner Should You Use?
- Best for fast multi-photo merges: Dream Pixel AI Image Combiner — 2 to 8 references, 1 to 4 variations per run, prompt-driven composition.
- Best for pre-work before a merge: Dream Pixel AI Image Editor — normalise lighting and crop framing on each source photo first.
- Best for identity-critical merges: a combiner with dedicated face-reference support, such as Dream Pixel AI Face Swap when you are swapping rather than combining.
- Best for research and full control: a self-hosted diffusion pipeline where you can inspect every stage.
Understanding the pipeline only gets you so far — the fastest way to internalise it is to run one merge and see where it breaks. Open Try it freeAI Image CombinerCombine up to 8 photos into a single AI-composed image., upload two photos, and write one sentence.
Want a workflow question answered? Get in touch — we read every message.
Try these tools
Try it freeAI Image CombinerCombine up to 8 photos into a single AI-composed image.Try it freeAI Image EditorTransform a single photo with a text prompt — restyle, re-light, re-imagine.Try it freeAI Face SwapSwap faces between two photos with realistic results.Try it freeAI Image UpscalerUpscale photos up to 4× without losing detail.Sources
- Google Research — Imagen Editor — Reference for text-conditioned editing that preserves the structure of a supplied photograph.
- Stability AI — Research — Reference for latent diffusion encoding and decoding used by image-to-image models.
- Hugging Face — Diffusers documentation — Reference for the encode, denoise, decode sequence and the role of cross-attention conditioning.