How to Change an Image Style with AI Without Losing Composition?
Change the style of a photo with AI while keeping the pose, framing, and layout intact — the strength settings, prompt wording, and checks that make it work.
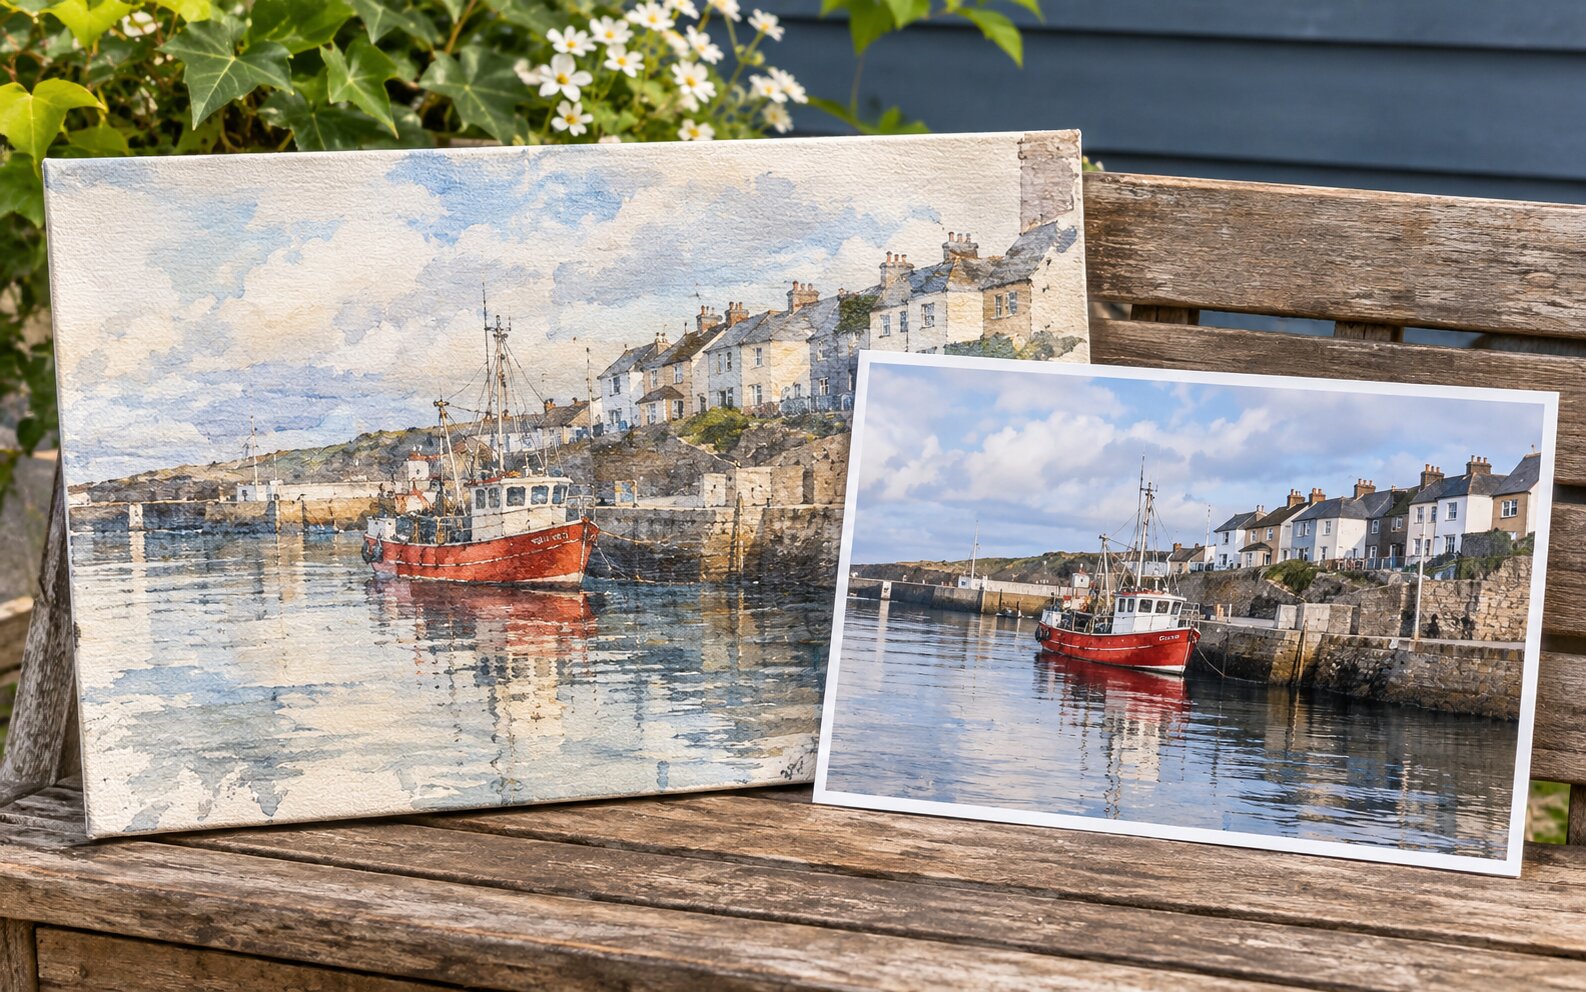
You can change the style of a photo with AI without moving anything in it. The pose stays, the framing stays, the arrangement of objects stays — what changes is the surface: the brushwork, the grain, the palette, the finish. The trick is that style and composition are controlled by two different things, and you have to hold one of them still on purpose.
Two Controls, Not One
Most disappointing style transfers come from moving both at once. Keep them separate:
- The strength setting decides how much of the original survives. Low strength gives you a tinted original. High strength gives you a new picture that happens to share a layout. The middle of the range is where style actually changes while structure holds.
- The prompt decides what the new surface looks like. It should describe the target style, not the editing action.
The single most valuable line you can add to any prompt is a short statement of what stays: "keep the pose and the framing", "keep the face", "keep the exact composition". One sentence, in the same breath as the style.
The Prompt Formula
[Style or medium], [key visual traits], keep [the specific elements that must survive]
Filled in, that becomes things like:
- "Render this as a watercolour painting, soft washes and visible paper texture, keep the pose and the composition"
- "1990s film photograph, grain, faded warm tones, slight colour bleed, keep the face and the framing"
- "Flat vector illustration, bold shapes, limited palette, no gradients, keep the layout and the subject's position"
- "Cinematic film still, anamorphic, teal and amber, shallow depth of field, keep the composition exactly"
Two details separate a prompt that works from one that does not. First, name the traits rather than the label — "visible paper texture" and "grain and faded tones" are instructions, while "watercolour" and "1990s film" are labels the model has to interpret. Second, always finish with the survival clause.
What Breaks, Subject by Subject
Style transfer is not equally safe for every kind of photo. Knowing where each one gives way saves a lot of retries.
| Subject | Survives well | Gives way first | Notes |
|---|---|---|---|
| Portraits | Pose, framing, face shape, expression | Skin texture, freckles, hair strands | Raise the tier and lower the strength |
| Group photos | Arrangement, positions, general silhouettes | Individual faces, small details | Crop to fewer people before restyling |
| Architecture | Overall structure, vanishing points, silhouette | Window frames, straight lines, signage | Keep the tier high; geometry is fragile |
| Products | Shape, colour, general materials | Labels, text, exact proportions | Use a mask-based editor for exact variants |
| Landscapes | Horizon, composition, terrain | Fine vegetation, distant detail | The safest subject to restyle |
| Food and drink | Plating, table setting, steam | Texture of the food itself | Shoot sharp; texture is the first loss |
| Screens and documents | Layout | All legible text | Never restyle anything you need to read |
A Repeatable Workflow
- Crop the source tightly. Style transfer changes detail resolution, and a small subject in a big frame is where detail dies first.
- Write the prompt with the formula above. Style, traits, survival clause.
- Set the strength in the middle band. Around 0.45 to 0.6.
- Pick a high tier if the subject is a face or a building. Geometry and identity are the two things worth paying extra for.
- Generate 2 to 4 variations and compare them side by side, not one after another.
- Check the structure against the original before you accept — compare the horizon, the shoulder line, and the subject's position in the frame. Small drifts are the tell that the strength was too high.
The Checks Worth Doing
After every restyle, look at four things. They catch almost every failure:
- Subject position. Is the subject still where it was in the frame?
- Horizon and verticals. Did any straight line move or bend?
- The face. Is it still the same person, in the same expression?
- The story. Does the new style make sense for what the picture shows? A woodcut of a modern office is a choice; a woodcut of a wedding is usually a mistake.
Common Problems and Solutions
| Symptom | Why it happens | What to do |
|---|---|---|
| The result looks like a colour filter | The strength was too low for the style to render | Raise the strength to 0.5 and add texture traits to the prompt |
| The composition drifted | The strength was too high | Lower it by 0.15 and add "keep the exact composition" |
| The face changed | Identity details softened during the re-render | Lower the strength, raise the tier, name the face in the prompt |
| Straight lines became wavy | Geometry is fragile in generative models | Raise the tier, and straighten the source before uploading |
| Text and labels were redrawn | Letterforms are not reliably reproduced | Keep the labelled area out of the style change |
| The style looks generic | The prompt named a label but no traits | Add two or three concrete visual traits — texture, grain, palette |
| It works on one photo but not the next | The sources differ in crop or lighting | Normalise the sources first and reuse the identical prompt |
Frequently Asked Questions
Can AI change the style of a photo without changing the composition?
Yes. The model re-renders the frame from your photo, so the pose, the framing, and the arrangement of elements stay put while the surface treatment changes. The one thing that always takes some damage is fine detail — skin texture, hair strands, and small printed detail — because those are the first things a model replaces with something plausible.
What strength setting should I use for style transfer?
The middle of the range, around 0.45 to 0.6, is the reliable band. Below about 0.35 the result looks like a colour filter rather than a restyle; above roughly 0.7 the model starts rebuilding the scene and the composition starts moving. If the pose drifts, drop the strength before you touch the prompt.
How do I keep the face looking the same?
Name it explicitly — "keep the face and the pose" — and keep the strength moderate. Face identity survives through a reference embedding rather than pixel copying, so it stays recognisable even when the whole image is restyled, but exact freckle patterns and small scars will soften.
Should I use a style reference photo?
When the tool supports it, a reference photo of the target style is the most reliable way to hit a specific look, because the model can copy texture, palette, and brush behaviour directly instead of guessing from words. Where only text is available, use the name of a style the model has clearly seen.
Why does my product turn into a different product?
Material and shape accuracy are weak points in generative models. A bottle can change proportion, a label can be redrawn, and fabric can lose its weave. If the product itself must be pixel-accurate, keep the product area out of the transformation or use a mask-based editor instead.
Can I restyle a whole set of photos consistently?
Yes, as long as the prompt, the strength, the ratio, and the tier are identical for every file, and the source photos share the same crop and lighting. Review the batch as a set, because one outlier is more noticeable than twenty consistent images.
Which Tool Should You Use?
- Best for style transfer in a browser: Image To Image AI by Dream Pixel AI — one upload, one prompt, HD output, and a strength control so the composition stays put.
- Best for a finished 1980s treatment with no prompt writing: Try it free1980s Ai Photo Trend MakerOpen the tool to try it free..
- Best for turning one product photo into a whole styled set: Try it freeAI Photoshoot GeneratorTurn a single product photo into a full photo set..
- Best for merging several photos into one styled scene: Dream Pixel AI Image Combiner.
Open Try it freeAI Image EditorTransform a single photo with a text prompt — restyle, re-light, re-imagine. and run the same photo twice — once at 0.4 and once at 0.6. The difference between those two results is the whole technique.
Want a workflow question answered? Get in touch — we read every message.
Try these tools
Try it freeAI Image EditorTransform a single photo with a text prompt — restyle, re-light, re-imagine.Try it freeAI Image CombinerCombine up to 8 photos into a single AI-composed image.Try it freeAI Photoshoot GeneratorTurn a single product photo into a full photo set.Try it free1980s Ai Photo Trend MakerOpen the tool to try it free.Sources
- Google Research — Imagen Editor — Reference for text-guided editing that preserves the structure of a supplied photograph.
- Stability AI — Research — Reference for latent-space diffusion encoding and decoding that underlies image-to-image generation.
- Hugging Face — Diffusers documentation — Reference for the strength parameter and how the starting image conditions the denoising process.