Can AI Turn One Image into a Completely Different Image?
Yes — image to image AI can rebuild a photo into a different style, season, or scene. Here is how far the transformation goes, and where it breaks down.
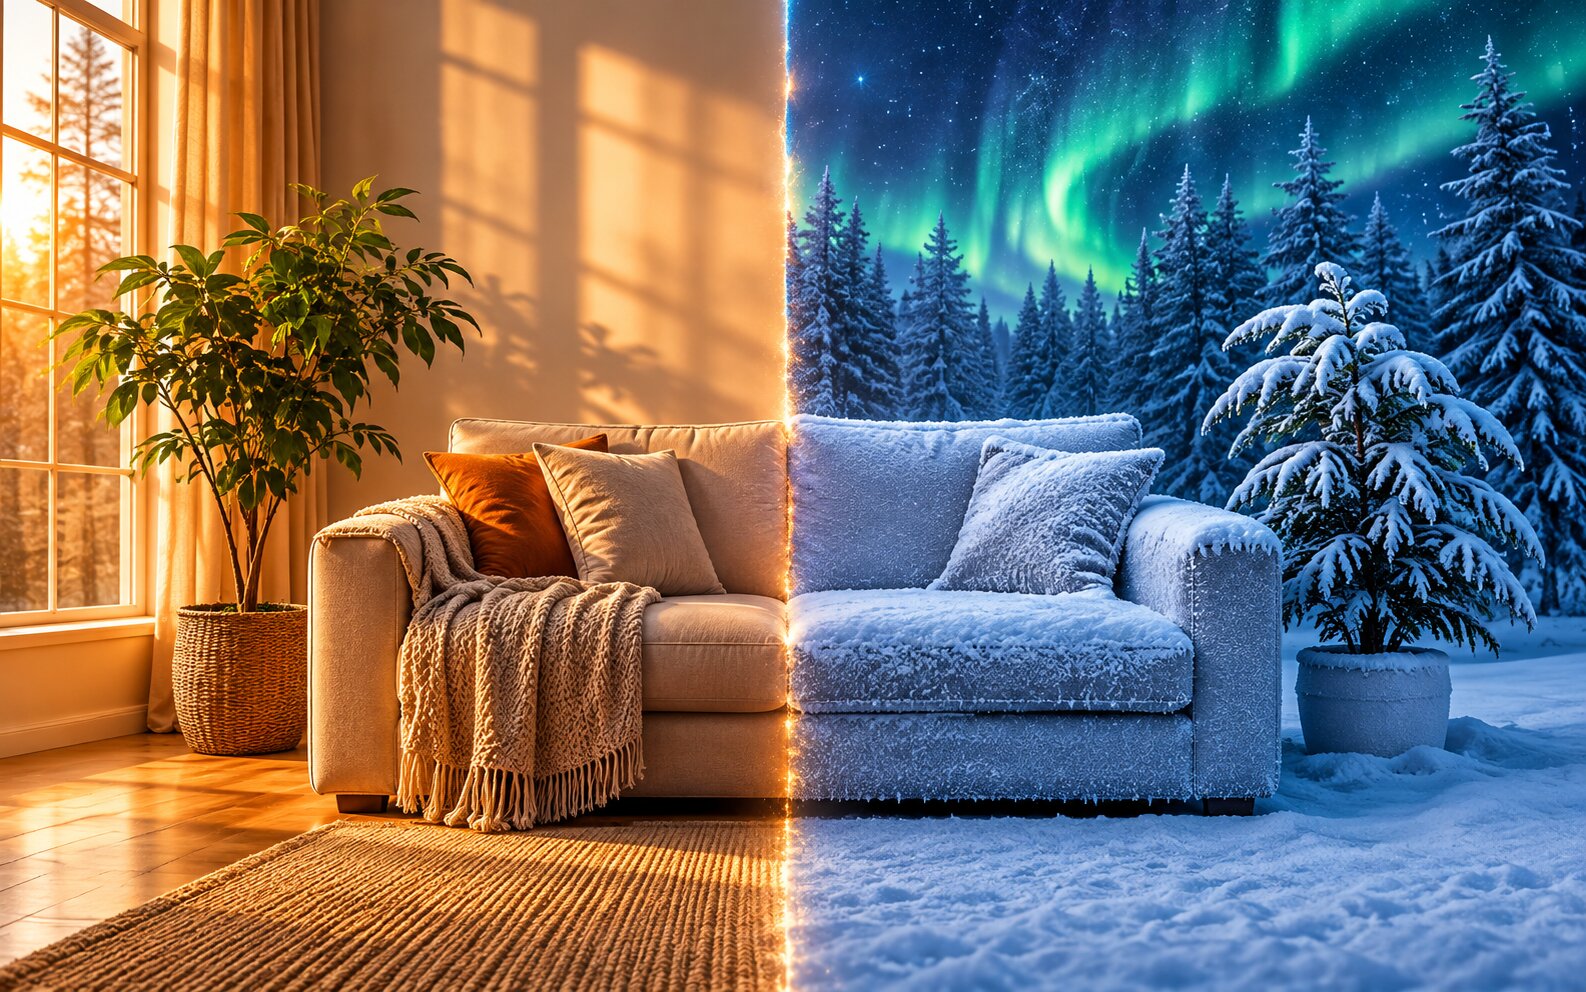
Yes — image to image AI can take one photograph and rebuild it into something that looks entirely different: another season, another art style, another lighting setup, another scene. The honest answer comes with one caveat. The output is a new image built from your photo, not your photo with effects layered on top, so a complete transformation necessarily loses some of what the original held.
The Spectrum of Transformation
The useful mental model is a dial, not a switch.
| Where you set the dial | What comes out | What survives |
|---|---|---|
| 10–25% | The same photo, restyled slightly — different colour, sharper, cleaner | Everything: pose, face, framing, light |
| 25–45% | A graded or relit version — mood and finish change, subject identical | Everything except the surface treatment |
| 45–65% | A restyled scene — different season, different art direction, different time of day | Composition, subject identity, rough layout |
| 65–85% | A reimagining — the same idea, rebuilt in a new world | Silhouette, pose, general framing |
| 85–100% | A new image that happens to share a layout with the original | Very little beyond the arrangement |
Most people try the middle and then complain that the tool "changed too much" or "did nothing". That is almost always a dial position problem, not a capability problem.
What Survives, and What Goes First
When a model re-renders a photo, information does not disappear evenly. There is a clear order to the losses:
- Texture goes first. Film grain, fabric weave, skin pores, and fine hair detail are the easiest things for a model to replace with something plausible.
- Then colour accuracy. Exact hues shift, especially in the shadows, because the model rebuilds them to fit the new lighting.
- Then facial micro-detail. The overall face survives; freckles, small scars, and the exact shape of an eyebrow usually do not.
- Then lighting continuity. Highlights and shadows get re-cast to match the new interpretation, which is a feature most of the time.
- Last of all, structure. Pose, framing, and the layout of the scene are the most robust things in the whole image.
If you need something to survive completely, it has to be structural — a face, a pose, a silhouette. A logo, a serial number, a handwritten note, and a printed price will not survive any transformation above a light grade. Text is not reliably reproduced by image models.
Six Transformations You Can Reach With One Photo
A different decade. Same street, same pose, 1974 or 1994 — with the grain, the colour science, the cars, and the signage re-rendered to match. This is the single most popular transformation and the one the models handle best, because the reference is a well-documented visual style.
A different season. Summer into deep winter, dry grass into new growth, a sunny street into an overcast one. Lighting and ground cover are exactly the things a diffusion model is good at re-imagining.
A different medium. Oil painting, watercolour, pencil sketch, clay render, comic panel, 3D render. Style transfer is a well-defined mapping that the model has seen millions of times.
A different world. Your living room into a snowy forest at night, a cafe table into a Paris street. This one needs high strength and works best when the prompt names the new scene completely.
A different light. Studio light, golden hour, harsh midday, neon. Cheap, fast, and the least destructive option on the list.
A different product. One snapshot of a bottle into a full set of studio and lifestyle shots. Try it freeAI Photoshoot GeneratorTurn a single product photo into a full photo set. does this specifically.
How to Push the Transformation Further Without Losing the Subject
State the new scene in full. "A snowy forest at night" produces a better result than "winter". Name the place, the time, the weather, and the light.
Keep one anchor. Even at high strength, naming a single thing to preserve — the face, the pose, the jacket, the silhouette — measurably reduces drift. Models anchor better on one clear instruction than on five.
Raise the quality tier, not just the strength. A stronger source and a higher tier preserve more detail at the same transformation level. If the output feels flat, the tier is usually the bigger lever.
Make the first pass moderate. A mid-strength restyle that keeps the subject clean, then a second light pass for the extreme change, gives a better final image than one enormous transformation. Each pass re-renders from a clean base.
Generate a spread. Two to four variations per prompt. Models are stochastic, and the same prompt can produce a restrained result and a wild one — you want to see both.
When a Complete Transformation Is the Wrong Tool
Some things are better done by a different route:
- Pixel-exact edits. Removing a logo, changing a colour on a specific object without touching anything else. That is a mask-and-fill job, not a generation job.
- Multiple photos merged into one scene. Image to image takes one photo. Combining two or more is a different operation — Dream Pixel AI Image Combiner exists for it.
- Print-ready fidelity. Generative output is a new photograph; for a catalogue shot where the product must match the real one exactly, photograph it instead.
- Anything with legible text. Keep text areas out of the transformation.
Common Problems and Solutions
| Symptom | Why it happens | What to do |
|---|---|---|
| The subject is no longer the same person | Strength was high and no anchor was named | Lower the strength and add "keep the face and the pose" |
| The result looks like a different photo of a similar scene | The prompt described a new scene with no shared anchor | Name one thing that must be preserved |
| Text or logos came out garbled | Letterforms are not reliably reproduced | Keep text areas out of frame of the edit, or re-add them later |
| Everything looks plastic | The quality tier was low, so the model substituted smooth generic texture | Generate at a higher tier and add texture terms to the prompt |
| Colours drift between the subject and the background | Two light interpretations were blended | Name one light source for the whole frame |
| Detail in the hair and fabric disappeared | The transformation level was past the point where texture survives | Lower the strength, or run the edit in two passes |
Frequently Asked Questions
Can AI turn a photo into a completely different image?
Yes. Image to image AI can take a photo of a person in a living room and produce the same person in a snowy forest at night, or the same street rendered as an oil painting. The transformation is controlled by a strength setting: at low strength the original barely changes, and at high strength only the broad layout and silhouette carry over.
Will my face survive a complete transformation?
Usually, but not perfectly. Face identity is carried through a reference embedding rather than copied pixel by pixel, so the face stays recognisable while the pose, lighting, and surface change. Fine details such as freckle patterns, small scars, and exact hair texture can shift. A higher quality tier and a sharper source make that shift smaller.
What stops AI from making the image I actually pictured?
Descriptions are not specifications. The model works from the relationship between your words and the source photo, so a vague instruction produces a plausible average rather than your exact idea. If the result misses, add a concrete detail — the light direction, the camera height, the time of day — rather than adding more adjectives.
Is it cheating to start from an AI-transformed photo?
It depends entirely on what you publish. Editorial and documentary work needs disclosure. Decorative and commercial work needs the licence terms of the tool you used. On Dream Pixel AI the output is yours to use in listings, ads, and client work.
Can I turn one photo into many different images?
Yes — that is the normal way to use it. Each generation with a different prompt produces a different result, and running 2 to 4 variations per prompt is the fastest way to find the one worth keeping.
How long does a full transformation take?
A single-image generation finishes in 30 to 90 seconds at most quality tiers. The heavier the transformation and the higher the quality tier, the longer it takes.
Which Tool Should You Use?
- Best for transforming one photo in a browser: Image To Image AI by Dream Pixel AI — one upload, one prompt, HD output, no layers or masks.
- Best for a full decade restyle with a finished look: Try it free1980s Ai Photo Trend MakerOpen the tool to try it free. — it ships the 80s treatment already tuned.
- Best for turning one product shot into a whole set: Try it freeAI Photoshoot GeneratorTurn a single product photo into a full photo set..
- Best for merging several photos into one scene: Dream Pixel AI Image Combiner.
Open Try it freeAI Image EditorTransform a single photo with a text prompt — restyle, re-light, re-imagine. and try the same photo twice — once at low strength, once at high. Seeing both ends of the dial in two minutes tells you more than any description can.
Want a workflow question answered? Get in touch — we read every message.
Try these tools
Try it freeAI Image EditorTransform a single photo with a text prompt — restyle, re-light, re-imagine.Try it freeAI Image CombinerCombine up to 8 photos into a single AI-composed image.Try it freeAI Photoshoot GeneratorTurn a single product photo into a full photo set.Try it free1980s Ai Photo Trend MakerOpen the tool to try it free.Sources
- Google Research — Imagen Editor — Reference for text-guided structural edits to a supplied photograph.
- Hugging Face — Diffusers documentation — Reference for how the starting image and the strength parameter bound the transformation.
- Stability AI — Research — Reference for latent-space diffusion encoding and decoding that underlies image-to-image generation.