AI Clothes Swap vs. Photoshop: Which Is Faster?
Changing clothes in Photoshop means selecting, warping and blending every fold. An AI clothes swap does it in one render. Here is the honest comparison.
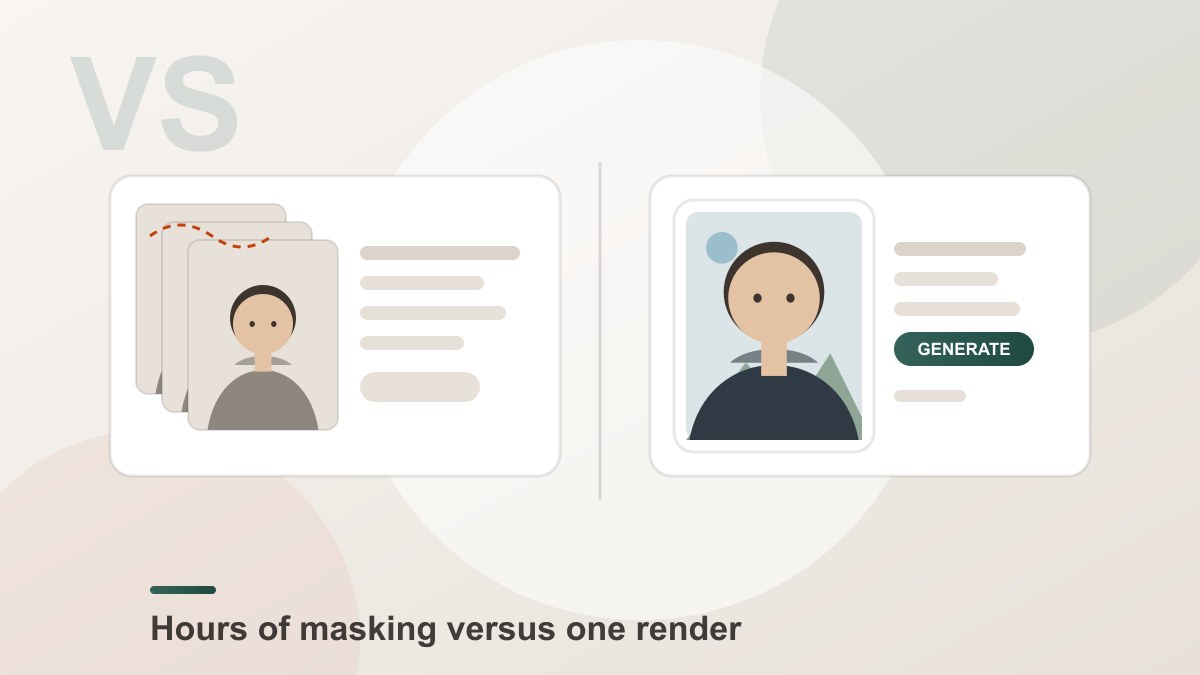
Changing clothes in Photoshop means selecting the garment, warping it onto the body, painting the shadows, matching the colour to the scene and cleaning every edge where fabric meets skin. A practiced editor spends 30 to 90 minutes on one believable outfit, and beginners usually produce several attempts they throw away. An AI clothes swap does the whole thing as a single render that finishes in seconds.
Which one is right depends on what you are making — not on which is more powerful.
AI Clothes Swap vs. Photoshop: The Comparison
| Dimension | AI clothes swap | Photoshop |
|---|---|---|
| Time for one outfit | One render, seconds | 30 to 90 minutes for a competent editor |
| Skills required | None | Selection, warping, painting, colour matching |
| How the garment is built | Re-rendered to fit the body and the light | Pixels copied and deformed from the source photo |
| Shadows on the new clothes | Generated from the scene | Painted by hand |
| Colour matching | Automatic | Manual, sample and adjust |
| Consistency across ten photos | One shared model, one look | Ten separate manual sessions |
| Folds and drape | Generated from the pose and the fabric | Hand-warped, and often too clean |
| Edge control | Model blends it | Brush and mask, pixel by pixel |
| Precision control | Nothing beyond the photos you pick | Total |
| Cost | A few credits per render | A subscription plus your time |
| Works on a phone | Yes | No |
| Best for | Lookbooks, listings, quick edits, social content | Print, art direction, precise compositing |
Why Manual Outfit Changes Look Pasted On
This is worth understanding, because it explains where each tool wins.
A manual change copies pixels. Those pixels carry the original lighting, the original shadow direction, the original camera grain and the original fabric texture. A shirt photographed flat on a white table and pasted onto a body will still carry that flat, shadowless light, and the fabric will have the crisp, uncreased edges of a product photo rather than the soft buckling of worn cloth.
Generative swapping throws the copied pixels away. The garment is rebuilt against the body and lit by the scene's light, so it belongs to the picture by construction. When it fails, it fails in a generative way — a slightly wrong collar, a fold that lands oddly — which is far less noticeable than a shirt with the wrong shadow.
That is the structural argument for the AI approach, and it is not a matter of polish.
Where Photoshop Still Wins
Being fair about this matters, because the comparisons that only praise the new tool are not the ones worth reading.
Pixel-level precision. If a collar has to land on exactly one more pixel, no setting gets you there. A pen tool and a mask will.
Untouched areas. A manual composite leaves every pixel you did not select exactly as it was. A generative re-render changes the clothing region and leaves the rest alone too, but a perfectionist who needs the original skin texture byte-for-byte has no equivalent.
Art direction. When you are building a composite rather than a swap — placing a person into a new scene, matching two lighting setups, laying out a poster — a layered editor is simply the right instrument.
Impossible combinations. A garment that does not exist in any photo can be described in text and generated. There is no source image to copy, so a manual workflow cannot even start.
The Realistic Workflow: AI First, Editor Second
For most people the answer is not either/or. It is a sequence.
- Run the AI swap first. One person photo, up to four garments, one render. You get a correctly lit, correctly toned picture in seconds.
- Look at the result at full size. If the garment is clean, you are done — crop it and ship it.
- Open an editor only if one specific thing is wrong. A collar that needs a brush stroke, a crop, a colour grade across the frame, a little grain matched to the original.
That sequence gets you the speed of the AI tool and keeps the precision of a manual workflow for the rare case you actually need it. The reverse order does not work — hand-building an outfit first and then asking a model to change it usually gives worse results than doing the swap first.
The Cost Reality
| AI clothes swap | Photoshop | |
|---|---|---|
| Entry cost | A few credits per render | A monthly subscription |
| Per outfit | 1 render | 30 to 90 minutes of your time |
| Per lookbook of ten outfits | 10 renders | 5 to 15 hours |
| Install | None, it runs in the browser | A desktop install with a learning curve |
| Hardware | Any phone or laptop | A machine that can run the editor |
| Learning time | Seconds | Days to weeks for competent results |
When your time is worth more than the software subscription, the arithmetic is not close. And for the many people who want the result rather than the process, the difference between a tool that takes five minutes to learn and one that takes a month is the whole decision.
Frequently Asked Questions
Is AI clothes swap better than Photoshop?
For speed, for consistency and for anyone who has not learned manual editing, yes. An AI clothes swap replaces the outfit in one render, while Photoshop needs you to select the garment, warp it onto the body, paint the shadows, match the colour and clean every edge. Photoshop still wins on precise control over a finished frame, because you can move pixels by hand and no setting gives you that.
How long does it take to change clothes in Photoshop?
For a competent editor, roughly 30 to 90 minutes for one believable outfit once you count selecting and warping the garment, matching the colour to the scene, painting the shadows and cleaning the edges. Beginners should expect several times that, and a lot of attempts that get discarded.
Why do manual Photoshop outfit changes look fake?
Because a manual change copies pixels, and copied pixels carry the original lighting, the original shadow direction, the original camera grain and the original fabric texture. A shirt photographed on a hanger and pasted onto a body keeps the hanger photo's soft, shadowless light. That mismatch is not in the mask, so no amount of careful blending fully hides it.
Can I use Photoshop after an AI clothes swap?
Yes, and it is often the right next step. Run the swap first for the whole outfit, then open the result in an editor to fix one stubborn edge, crop it, grade the colour across the frame, add a little grain or export at a specific size.
Do I need to know how to edit photos to use an AI clothes swap?
No. The whole workflow is upload, generate, download. There is no layer stack, no warp tool, no brush and no colour matching to learn, which is what makes it usable on a phone.
Which produces a more realistic result?
A good AI result, for most photos. The garment is lit by the scene it sits in, so it belongs to the photo by construction. A skilled manual composite can match that quality, but it takes far longer and a trained eye.
Is there anything Photoshop does better for changing outfits?
Precision on a single detail, total control over every edge, the ability to keep untouched areas exactly as they were, and any job that is a composite rather than a swap — placing a person into a new scene, matching two lighting setups, building a poster.
Does AI clothes swap work on a phone?
Yes. The tool runs in the browser and compresses large files on the device before uploading, so no software has to be installed. Photoshop is a desktop application and is not a practical phone workflow.
Which Should You Use?
- For putting a new outfit on a photo, quickly: Try it freeAI Clothes SwapSwap any outfit onto a photo — a free online AI clothes changer and virtual try-on. — one person photo, up to four garments, one render, no watermark.
- For restyling the whole picture, not just the clothes: Try it freeAI Image EditorTransform a single photo with a text prompt — restyle, re-light, re-imagine..
- For placing a person into a new scene: Try it freeAI Image CombinerCombine up to 8 photos into a single AI-composed image..
- For removing the old clothes instead of replacing them: Try it freeRemove Object from PhotoErase unwanted objects, people, or clutter from any photo..
- For pixel-level precision on a finished frame: open the AI result in your editor.
Want a workflow question answered? Get in touch — we read every message.